Agent setups
Phoenix setups: every map
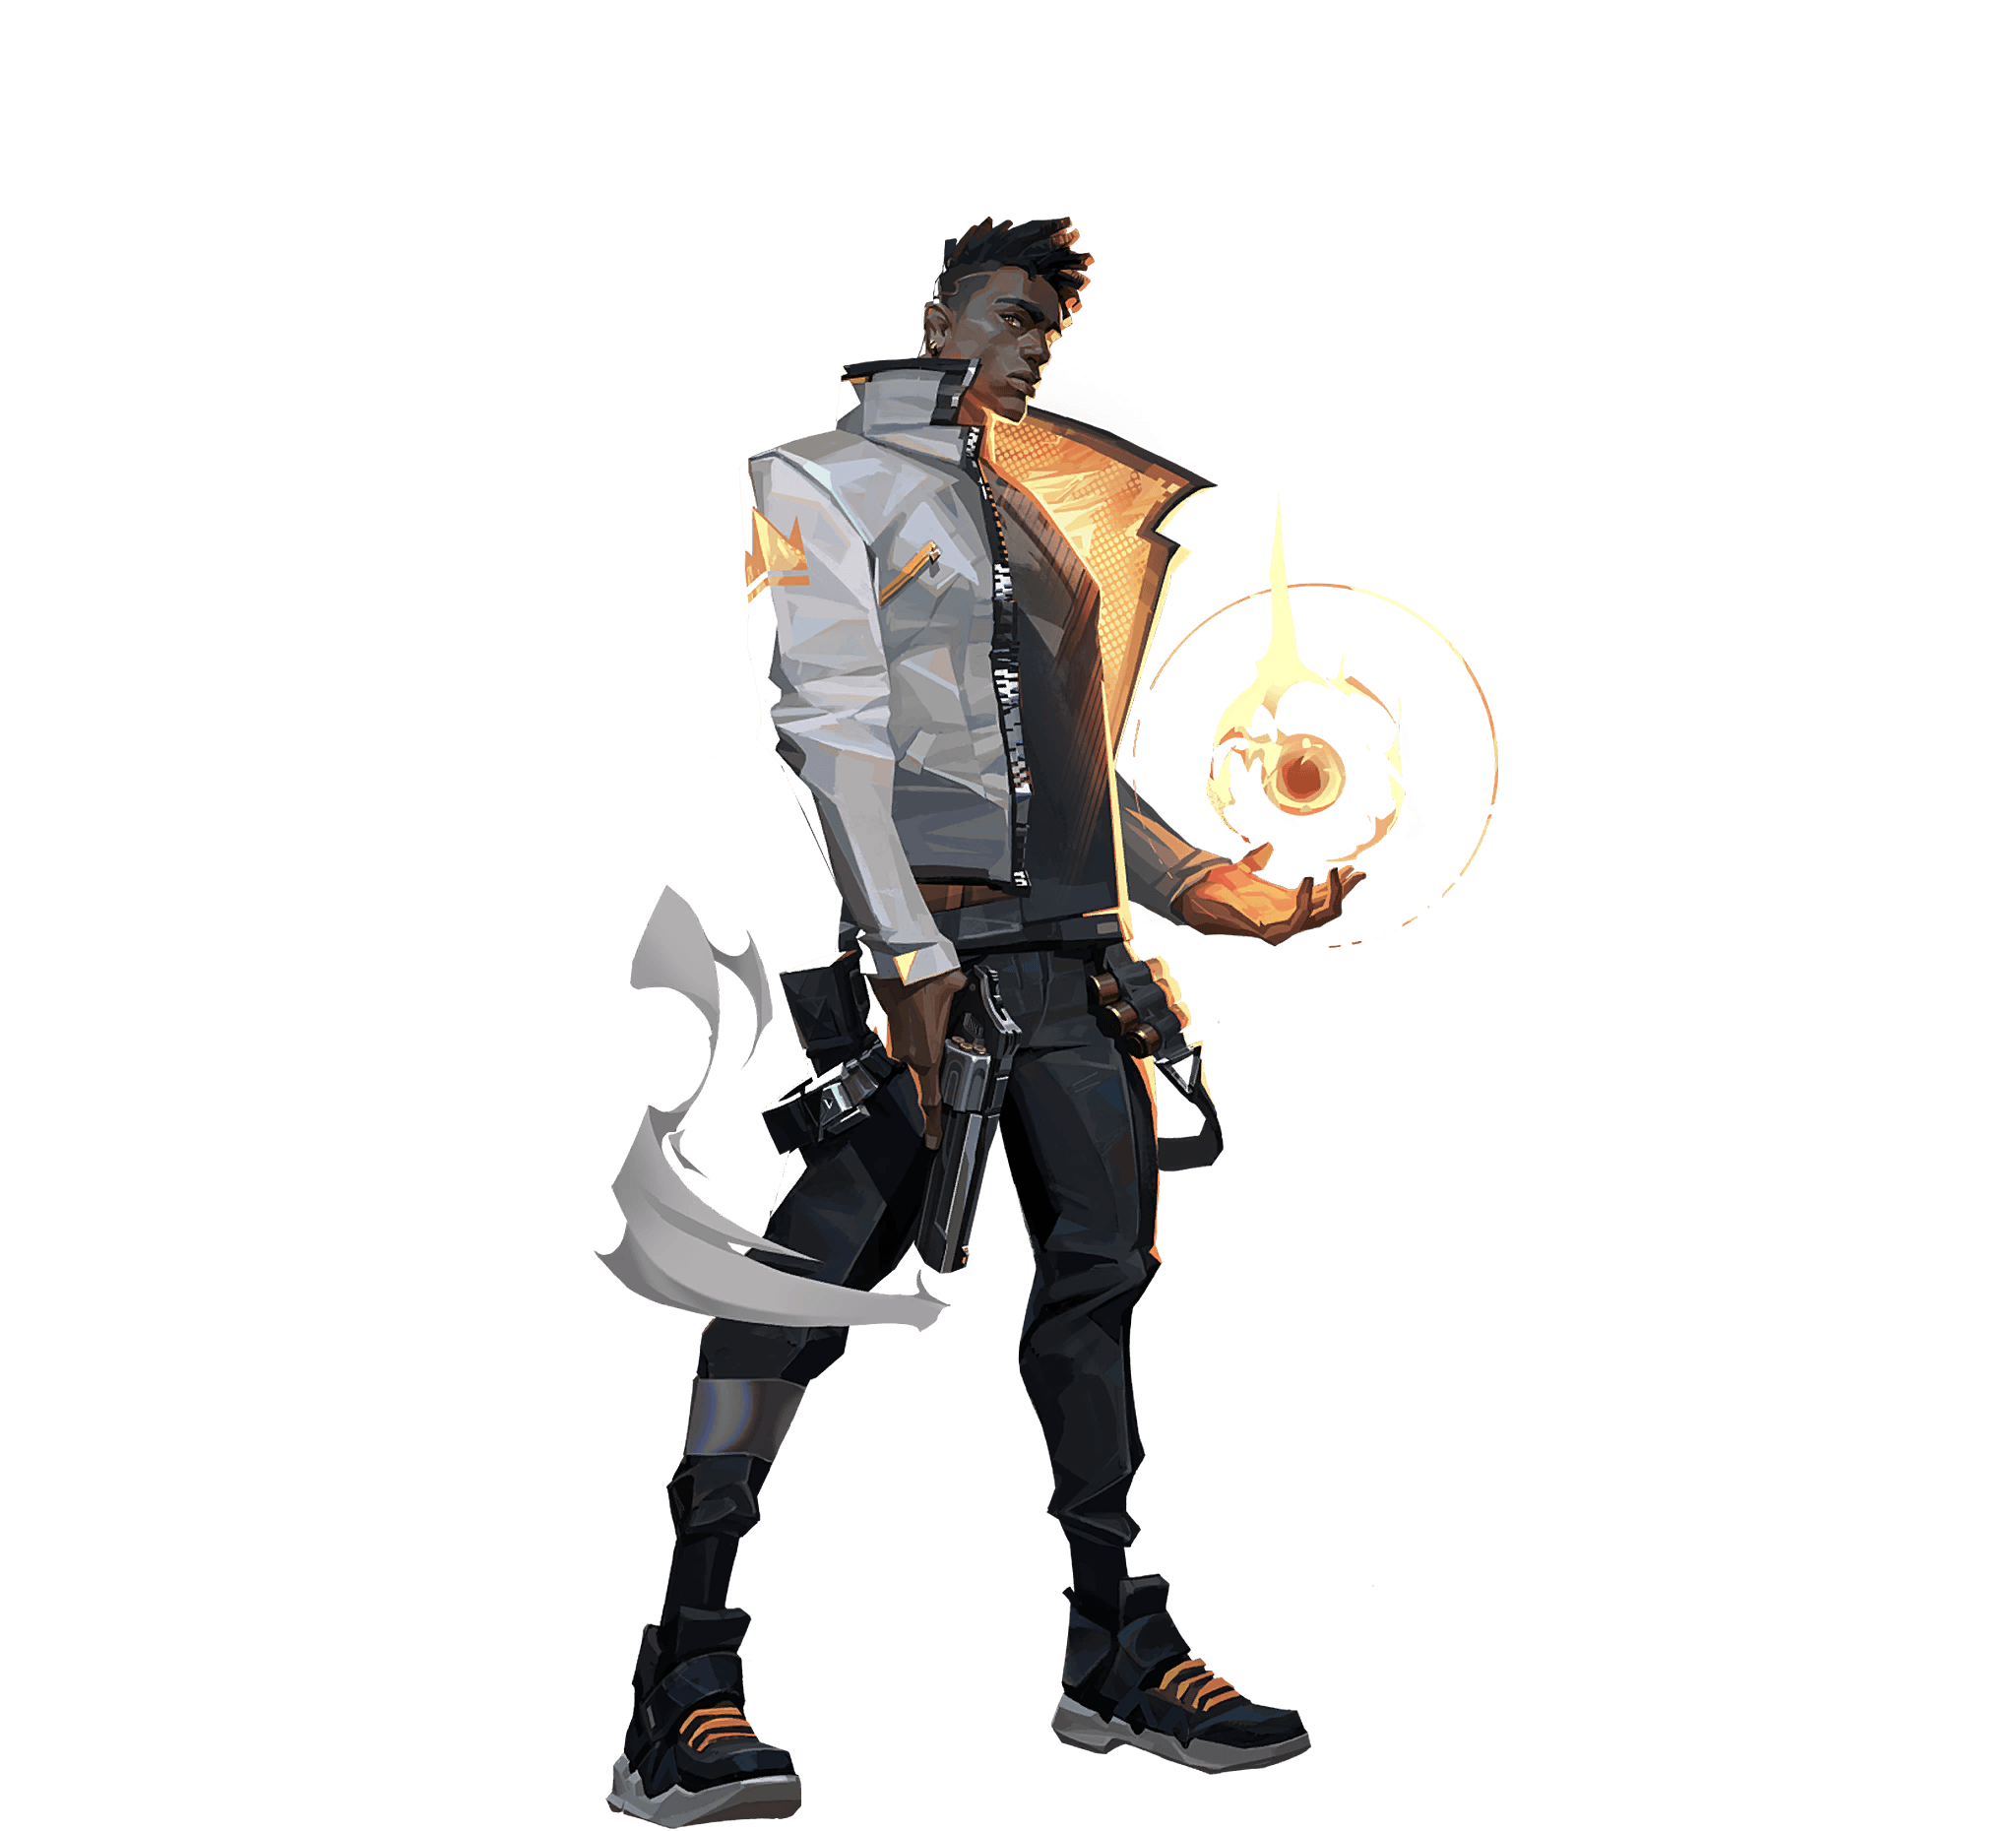
21 setups for Phoenix across 10 maps, drawn on the official minimap: every ability, where it goes and what it covers.
Phoenix A: Hot Hands on A Main from the east of A Bridge
Site ADefenseIn the east of A Bridge, north-east of A Site, put your crosshair on the right edge of the white box fixed to the wall, the one the creator compares to a Famicom, then throw Hot Hands. The exact spot on the ground barely matters, according to the creator. The orb burns at the north exit of A Main. The creator uses it when the attackers send their drone toward A.
- 1
 Hot Hands : East of A Bridge, exact spot on the ground not important: crosshair against the right edge of the white box on the wall, level with its round button, orb in hand.
Phoenix A: Hot Hands on the A spike from A Lamps
Site AAttackWith the spike planted on A, you stand under the lanterns of A Lamps, facing east, and throw Hot Hands with your crosshair in the sky, against the right edge of the big stone column. The orb lands on the spike spot, at the foot of the truck on the site. The defender drops the defuse or takes the fire.
- 1Hot Hands : Under the lanterns of A Lamps, facing east: crosshair in the sky, against the right edge of the big stone column, orb in hand.
Phoenix A: Hot Hands on the A plant from A Lobby
Site AAttackWith the spike planted on A, you stay against the big red wall of A Lobby, facing north, and throw Hot Hands with your crosshair on the dark edge of the wall, left of the palm tree, level with the middle of the antenna tower. The orb goes over the rooftops and burns in front of the A truck, around the spike. The defender has to drop the defuse or take the fire.
- 1Hot Hands : Against the big red wall of A Lobby, facing north: crosshair on the dark edge of the wall, left of the palm tree, at the middle of the antenna tower.
Corrode
Open the full Corrode guidePhoenix B: Hot Hands on B Main from the south of B Site
Site BDefenseFrom the south-east of B Site, facing north-east and the arch wall, aim just right of the tip of the yellow wand, at the top of the wall, left of the B emblem. Throw Hot Hands with a jump: the orb goes over the wall and burns in B Main, north-east of the grey container. Murli files this fire under defense and follows up with Curveball to push back anyone who walks into the fire.
- 1Hot Hands : South-east of B Site, facing north-east: crosshair just right of the tip of the yellow wand, left of the B emblem, then jump throw.
Phoenix B: same fire on B Main from the north of B Site
Site BDefenseA second throwing spot for the same fire, in the north-east of B Site, facing east. Murli offers it if you fear being seen too early at the first spot. Aim just above the small potted plant, at the top of the wall, right of the yellow foliage and the ivy knot. Throw Hot Hands with a jump. The fire lands in B Main, north-east of the grey container, just like from the first spot.
- 1Hot Hands : North-east of B Site, facing east: crosshair just above the small potted plant on top of the wall, right of the ivy knot, then jump throw.
Phoenix B: Hot Hands in the north-west corner of B Site from B Main
Site BAttackIn the north lane of B Main, against the south wall, turn west and aim at the top of the brick wall, above the left pot, left of the round tower with the purple crystal. Throw Hot Hands while running, then jump: the orb drops into the north-west corner of B Site, against the corner of the green-roofed structure. Murli uses it when a defender hides there.
- 1Hot Hands : North lane of B Main, facing west: crosshair on the top of the brick wall, above the left pot, then start running and jump throw.
Phoenix A: Hot Hands on the east of A Site from A Long
Site AAttackFrom A Long, against the stone wall, you throw Hot Hands with your crosshair on the edge of the wooden roof of the building with the balcony, above the windows. The orb goes over and burns on the east of A Site, on the A Long side. The creator files this throw under "Attacker Molly": it is used to push out a defender holding that spot.
- 1Hot Hands : In A Long, against the stone wall: crosshair on the edge of the wooden roof of the building with the balcony, just above the windows, orb in hand.
Phoenix C: Hot Hands toward C Cubby from C Site
Site CAttackYou stand in C Site, facing east, and throw Hot Hands with your crosshair on the checkered frieze along the top of the wall, a little left of the green crate. The orb goes over the wall and burns in the recess of C Cubby, in front of a wooden double door. The creator files it under "Attacker Molly" for C Site.
- 1Hot Hands : In C Site, facing east: crosshair on the checkered frieze at the top of the wall, a little left of the green crate, orb in hand.
Phoenix A: Hot Hands on the A spike from A Top
Site AAttackWith the spike planted on A, you stand at A Top, facing south, against the big beige wall, and jump before throwing Hot Hands (creator's instruction: Jump + Throw). The crosshair is against the right edge of the wall, level with the top of the green mountain in the distance. The orb lands on the spike, visible on the video's minimap. The defender has to drop the defuse.
- 1Hot Hands : At A Top, facing south, against the big beige wall: jump and throw, crosshair against the right edge of the wall, level with the top of the green mountain.
Phoenix C: Hot Hands toward the waterfall from C Mound
Site CAttackFrom C Mound, facing north, you jump then throw Hot Hands (creator's instruction: Jump + Throw), crosshair in the sky, in the gap between the elephant cliff and the roof of the building on the right. The orb passes over the waterfall and burns just behind it, in the C Waterfall passage. In the video, you are still carrying the spike.
- 1Hot Hands : At C Mound, facing north: jump and throw, crosshair in the sky, in the gap between the elephant cliff and the roof of the building on the right.
Phoenix B: Hot Hands at the foot of the B Main stairs
Site BDefenseTuck yourself along the angled wall in the south corner of B Site and throw Hot Hands without jumping, with your crosshair on the tip of the small roof opposite. The orb flies over and burns at the foot of the B Main stairs, on the spot the creator marks. The creator does not say which side: thrown from the site, this fire is used on defense to slow a team pushing into B Main.
- 1Hot Hands : Angled corner in the south of B Site, along the wall: crosshair on the tip of the small roof opposite, orb in hand, plain throw without jumping.
Phoenix B: Hot Hands against the crate at the B Main elbow
Site BDefenseIn the south of B Site, at the entrance of the passage to B Main, move forward, jump and throw Hot Hands: the creator shows "W + Jump + Throw". Aim just above the edge of the tiled roof, near its left tip. The orb flies far and burns against the wooden crate, in the elbow of B Main. The creator does not say which side: from the site, this fire is used on defense to punish a rush through B Main.
- 1Hot Hands : Entrance of the passage between B Site and B Main: crosshair just above the edge of the tiled roof, near its left tip, then move forward, jump and throw.
Phoenix B: Hot Hands on the B Site crates from B Main
Site BAttackIn B Main, at the end of the bench on the stairs side, move forward, jump and throw Hot Hands: the creator shows "W + Jump + Throw" and lines up the aim point with the Operator scope. The orb flies over the building opposite and lands on the group of crates in the south of B Site, burning all around them. The creator does not say which side: on attack, this fire is used to flush out a defender posted against those crates before you enter.
- 1Hot Hands : End of the B Main bench, stairs side: crosshair on the top right corner of the dark window on the left, under the roof opposite, then move forward, jump and throw.
Phoenix B: Hot Hands at the foot of the green crate from B Tower
Site BAttackOn B Tower, at its east end, throw Hot Hands without jumping, with your crosshair on the top left corner of the white sign with a yellow triangle, the lower of the two. The orb burns at the foot of the green crate, in the west corner of B Site. In the clip, the spike is on the ground there and the fire covers it: if the spike is planted there, this throw disrupts a defuse from the height of the tower.
- 1Hot Hands : East end of B Tower: crosshair on the top left corner of the white sign with a yellow triangle, the lower of the two, orb in hand, plain throw without jumping.
Phoenix A: Hot Hands on the A spike from A Lobby
Site AAttackWith the spike planted on A, you stay at the top of A Lobby, jump and throw Hot Hands (creator's instruction: Jump + Throw). The crosshair is in the sky, just above the corner of the roof gutter, left of the cable. The orb lands on the spike, south-east of A Site, at the foot of a big crate. The defender has to drop the defuse or take the fire.
- 1Hot Hands : At the top of A Lobby, facing north-east: jump and throw, crosshair in the sky, just above the corner of the roof gutter.
Phoenix A: Hot Hands on A Main from the north-east corner of the site
Site ADefenseYou hug the big stone block wall in the north-east corner of A Site and throw Hot Hands with your crosshair on the edge of that wall, near the wooden post. The orb goes over and burns everything south of the A Main lane. The creator does not say which side: thrown from the site, this fire cuts off the push through A Main without you leaving your position. The video shows the fire from the top of the lane.
- 1Hot Hands : North-east corner of A Site, against the stone block wall: crosshair on the edge of the wall, next to the wooden post, orb in hand.
Phoenix A: Hot Hands on A Main from the south-east of the site
Site ADefenseFrom the south-east of A Site, near the arch, you throw Hot Hands aiming at the sky just above the V-shaped gap between two walls, the grey metal plate on your right. The orb lands south of the A Main lane, at the same spot as the throw from the north-east corner. Two throws, one fire: pick based on where you hold the site.
- 1Hot Hands : South-east of A Site, near the arch: aim at the sky just above the V-shaped gap between the two walls, grey metal plate on the right.
Phoenix A: Hot Hands over the wall from A Restaurant
Site AAttackFrom A Restaurant, facing north-northeast, you throw Hot Hands, without jumping, over the big blue wall. The fireball lands in the passage that leads from A Main to A Site, just before the exit onto the site. A defender posted there has to move before you enter. Line up as on the minimap and aim at the spot Quible shows: the fire is visible from above in the video.
- 1Hot Hands : At A Restaurant, facing north-northeast, without jumping: crosshair on the top edge of the big blue wall, right of the square window, then throw.
Phoenix A: Hot Hands on the spike from A Link
Site ADefenseSpike planted on A, you stand at A Link, facing east-northeast, and throw Hot Hands without jumping (Quible's instruction: Normal Throw). The crosshair aims at the top of the Undercurrent vending machine, about ten meters away. The fire lands on the spike, 24 meters out, in front of the kiosk with the blue awning. An attacker guarding the spike up close has to move or take the fire before your defuse.
- 1Hot Hands : At A Link, facing east-northeast, without jumping: crosshair on top of the Undercurrent vending machine, then throw onto the spike.
Phoenix A: Hot Hands on the spike from A Secret
Site ADefenseSpike planted on A, you stand at A Secret, facing south, then jump before throwing Hot Hands (Quible's instruction: Jump + Throw). The crosshair aims at the top edge of the green wall, where the ivy stops. The fire lands on the spike, at the foot of the Perola Cafe kiosk. An attacker guarding the spike up close has to move or take the fire, and you throw without entering the site.
- 1Hot Hands : At A Secret, facing south: jump and throw, crosshair on the top edge of the green wall, where the ivy stops, under the sky railing.
Phoenix A: Hot Hands on A Rafters from A Main
Site AAttackFrom A Main, on the A Lobby side, you move forward while jumping and throw Hot Hands (creator's instruction: W + Jump + Throw), crosshair on the top of the wooden wall with the green edge, just left of the white pillar. The orb goes over the roof and burns south of A Site, around a small planter at the foot of A Rafters and on the edge of the walkway. A defender hiding there has to move before you enter.
- 1Hot Hands : In A Main on the A Lobby side, facing west-south-west: move forward, jump and throw, crosshair on the top of the wooden wall with the green edge, left of the white pillar.
Phoenix abilities

Other agents' setups
 Astra25 setups
 Breach17 setups
 Brimstone41 setups
 Chamber24 setups
 Clove19 setups
 Cypher27 setups
 Deadlock24 setups
 Fade37 setups
 Gekko38 setups
 Harbor9 setups
 Iso7 setups
 Jett20 setups
 KAY/O27 setups
 Killjoy48 setups
 Miks21 setups
 Neon26 setups
 Omen26 setups
 Raze16 setups
 Sage21 setups
 Skye8 setups
 Sova40 setups
 Tejo18 setups
 Veto26 setups
 Viper26 setups
 Vyse28 setups
 Waylay13 setups
 Yoru29 setups
A plan won't aim for you: measure your aim.
Sources
- youtube.com (opens in a new tab)
- wiki.playvalorant.com (opens in a new tab)
- youtube.com (2) (opens in a new tab)
- playvalorant.com (opens in a new tab)
- youtube.com (3) (opens in a new tab)
- youtube.com (4) (opens in a new tab)
- youtube.com (5) (opens in a new tab)
- youtube.com (6) (opens in a new tab)
- youtube.com (7) (opens in a new tab)
- youtube.com (8) (opens in a new tab)
- youtube.com (9) (opens in a new tab)
- playvalorant.com (2) (opens in a new tab)
- youtube.com (10) (opens in a new tab)
Updated on October 30, 2026
Patch 13.08 data. Map names, callouts and minimaps: Riot Games, via valorant-api.com.