Competitive pool
Sunset: callouts, site plans and setups
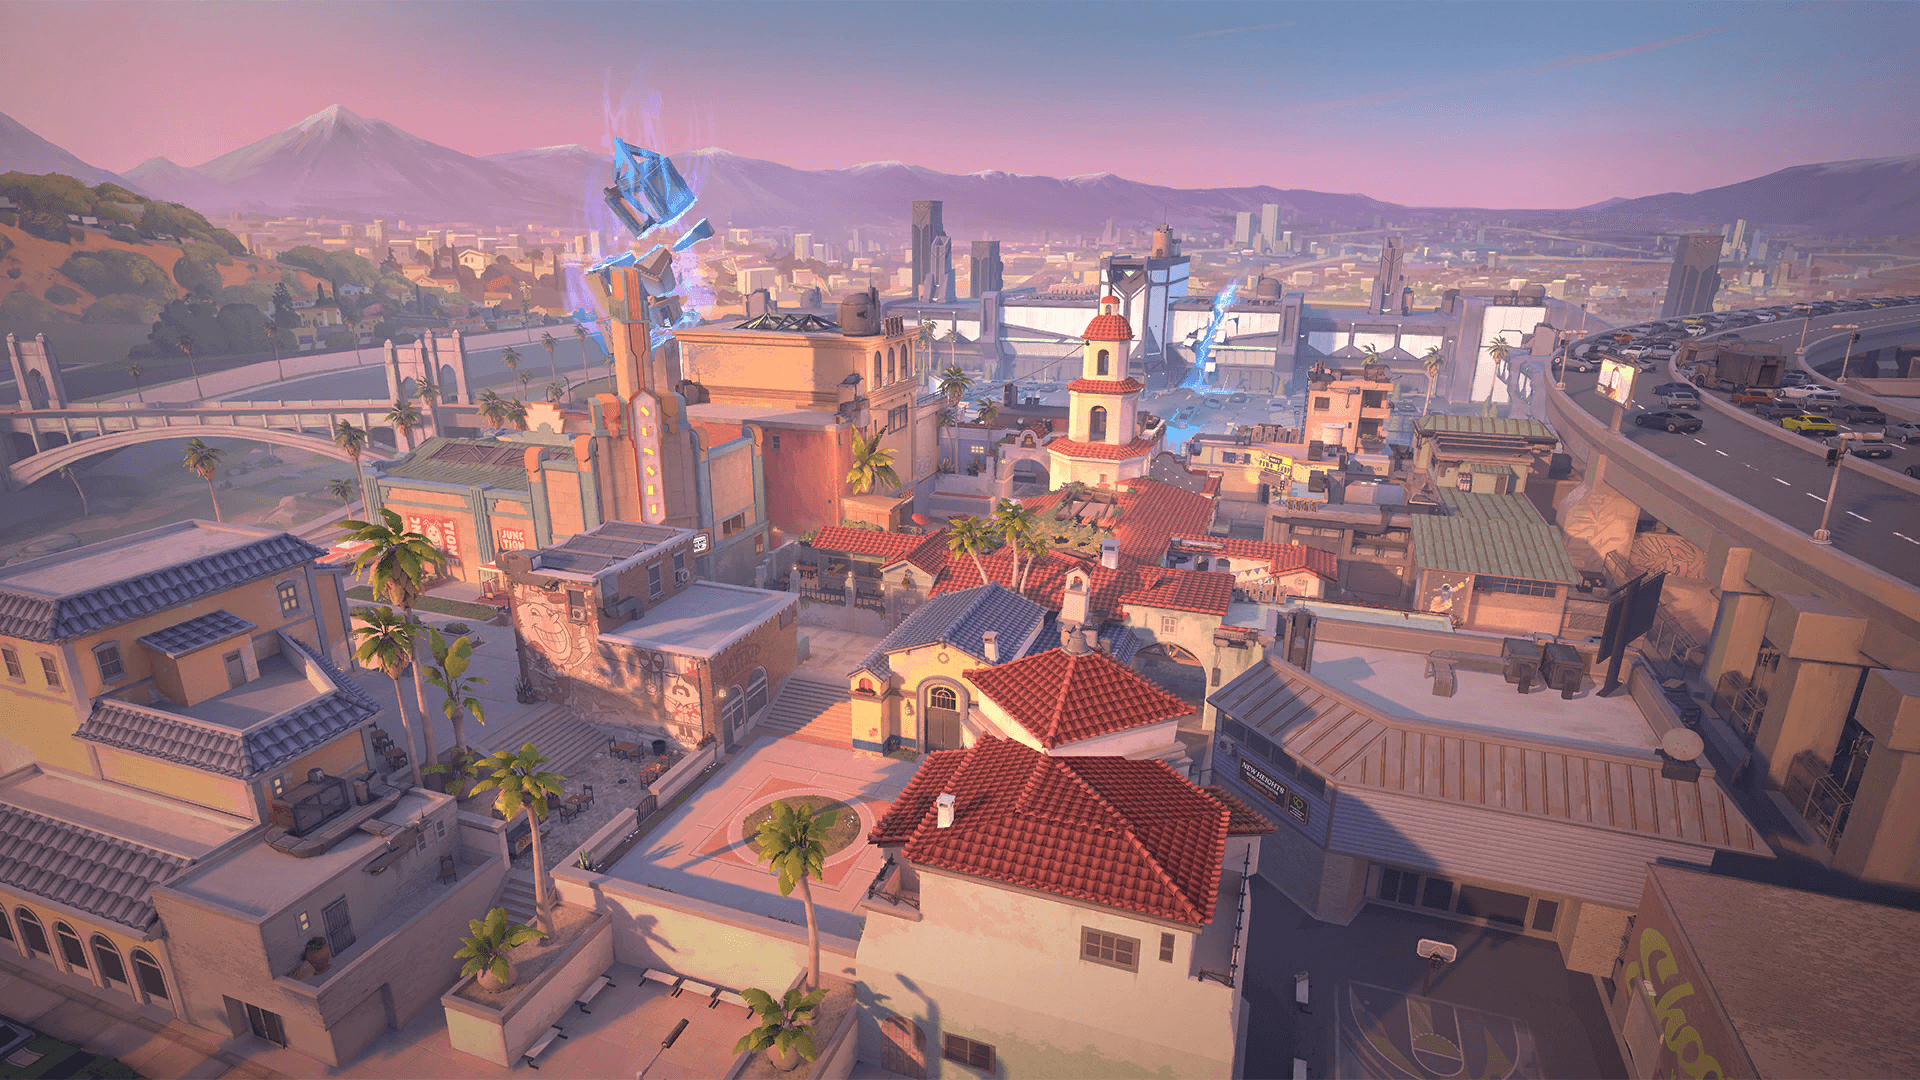
Sunset is a classic two-site, three-lane map set in Los Angeles. Mid is wide and links the two sites through connectors: whoever holds it sets the pace of the round.
- Sites
- Site A · Site B
- Release
- August 29, 2023, patch 7.04
- Status
- Competitive pool
Callouts
The official in-game names, as your client shows them, with the English name you will often hear in voice comms.
Scroll the map to read every name.
Site A
| In-game name |
|---|
| A Lobby |
| A Main |
| A Link |
| A Site |
| A Elbow |
| A Alley |
Site B
| In-game name |
|---|
| B Boba |
| B Market |
| B Site |
| B Main |
| B Lobby |
Mid
| In-game name |
|---|
| Mid Tiles |
| Mid Bottom |
| Mid Courtyard |
| Mid Top |
Spawns
| In-game name |
|---|
| Defender Spawn |
| Attacker Spawn |
Map layout
Sunset has two sites, A on the right and B on the left of the minimap, linked by a wide mid around Mid Courtyard. Each site is attacked through four entries: two fast and two longer. On the A side, you go through A Lobby then A Main, or through A Elbow, or through A Link from the top of the map. On the B side, B Main is a narrow corridor at the bottom left, B Market comes from mid and B Boba drops in from above. Taking mid opens three routes to B and two to A, and cuts the defenders' rotations. The barriers of both teams are close, so the first duels come fast and a lurker can pop up behind the defenders. The map has lots of 90-degree angles and nooks, especially on B and in A Alley. No teleporter: only a mechanical door between B Market and Mid Courtyard. Mid and the connectors decide most rounds.
Key features
Mechanical door between B Market and Mid Courtyard
A switch on the B Market side opens and closes the door. Closed, it blocks the way, but it has 500 HP: once destroyed, it stays open until the end of the round and creates a new angle.
A wide mid linking both sites
Mid Top, Mid Courtyard, Mid Bottom and Mid Tiles form a big crossroads. A Elbow leads to the A site and B Market to the B site: holding mid lets you split either site, or cut the enemy rotation.
Four entries per site, nooks everywhere
Each site has four accesses, two of them fast. The 90-degree angles and recesses on B and in A Alley punish a dry peek: you're better off with a flash, a drone or a dog before entering.
No teleporter, very useful smoke walls
The map is straightforward, with no hidden mechanic. According to Joe Lansford, Riot's lead map designer, quoted by ONE Esports, Controllers with smoke walls are the most effective here; Harbor is presented as the most versatile.
Site A
The A site, on the right of the minimap, opens onto A Main from A Lobby, onto A Elbow from the east and onto A Link from above. A big diagonal generator sits in the center of the site. Defenders play near A Main or on the site, and a held Elbow breaks the classic execute.
Attack plan
Take mid first to open the play through A Elbow as well as A Main: two angles to hold force the defenders to choose. Smoke A Link to cut the defenders' angles, and A Elbow if one of them holds it. Send flashes into A Main, then enter together. Plant on the site, then leave the area and play the post-plant from A Main and A Elbow to crossfire the spike. Watch your back: the paths join up fast and the barriers are close.
- 1Smoke : Smoke A Link
- 2Smoke : Smoke A Elbow
- 3Flash : Flash into A Main before the entry
- 4Route : Entry through A Lobby and A Main
- 5Route : Split through A Elbow
- 6Plant : Plant on the A site
- 7Hold : Post-plant from A Elbow
- 8Hold : Post-plant from A Main
Defense plan
Put one player on the site and a second in A Main or very close, with info in A Main to be warned. A held Elbow lets you attack A Main from the side then fall back. A Viper can cover A Elbow and A Main with her Toxic Screen to close the two fastest accesses. Keep an eye on mid: if the attackers take it, they split through A Elbow behind you. Smoke the Mid Bottom choke to disrupt their mid take. On the retake, arrive through the main rotation and through A Elbow at the same time to crossfire the post-plant.
- 1Hold : Hold A Elbow
- 2Hold : Anchor on the site, near the generator
- 3Info : Info in A Main
- 4Smoke : Smoke Mid Bottom
- 5Route : Retake through the main rotation
Site B
The B site, on the left of the minimap, is taken through B Main, a narrow corridor from the bottom, through B Market from mid, or through B Boba from above. There are lots of nooks and the plant stays in the left corner.
Attack plan
Sending all five players into B Main is risky: the corridor is narrow. Take mid instead, smoke B Market to cut the rotation, then open B Main with flashes and stuns before entering together. A split through B Market catches the defenders from behind, but it needs a held mid. Plant in the corner of the site, then play the post-plant from B Main and B Market to crossfire the retakers. Use a drone or a dog to clear the nooks before you go through them.
- 1Smoke : Smoke B Market
- 2Flash : Flash into B Main before the entry
- 3Info : Info in B Boba
- 4Route : Entry through B Lobby and B Main
- 5Route : Split through B Market
- 6Plant : Plant in the corner of the B site
- 7Hold : Post-plant from B Main
- 8Hold : Post-plant from B Market
Defense plan
Anchor one player on the site with something to cover B Main and the B Market connector, and put info on both to see a direct push as well as a split through mid. Smoke B Main to block the entry. If mid is lost, smoke the site access from B Market. On the retake, arrive through the main rotation and through B Market to clear the post-plant from several angles.
- 1Hold : Hold B Market
- 2Hold : Anchor on the B site
- 3Smoke : Smoke B Main
- 4Smoke : Smoke the site access from B Market
- 5Info : Info in B Main
- 6Route : Retake through B Market
Agent setups
The placements top guides recommend on this map, ability by ability.
 Killjoy
All Killjoy setupsKilljoy A: Turret on the generator, Alarmbot at the back of the site
Defense · Site A- 1
 TURRET : Turret on top of the generator, to cover the left entry and the right one
 - 2
 ALARMBOT : Alarmbot deeper in the site, so it triggers after the commit (approximate position)
Killjoy B: Turret and Alarmbot on B Market for mid pushes
Defense · Site B- 1TURRET : Turret on the B Market connector, to watch flanks coming from mid
- 2ALARMBOT : Alarmbot in B Market, to be warned of a split through mid
- 3
 Lockdown : Lockdown on the site to push back a site take or the post-plant
 Cypher
All Cypher setupsCypher A: two Spycams, Mid Top and the back of A Elbow
Defense · Site A- 1
 Spycam : Spycam on the ledge of the tower on the right, from the Mid Top railing: view on A Main, the site and A Elbow (approximate position)
 - 2Spycam : Camera in the upper right corner of the back wall of A Elbow: view on the site and on legs coming from A Main
 Chamber
Chamber A: hold A Elbow, Rendezvous in the site corner
Defense · Site AChamber plays A aggressively. From A Elbow, he shoots into A Main then teleports to the Rendezvous, placed in the site corner behind the black crates. One Trademark to the left of the Mid Top arch spots lurkers, a second in the recess of the A Elbow alley spots the late-round ones. Weakness: the Rendezvous has a short range and you have to stay within it.
- 1
 Trademark : Trademark to the left of the Mid Top arch, to spot a lurker toward A Link or B Boba
 - 2Trademark : Trademark in the recess of the alley leaving A Elbow, against late lurks
- 3
 Rendezvous : Rendezvous in the site corner, behind the black crates, to cover A Elbow
 Deadlock
Deadlock A: Barrier Mesh on A Main and A Elbow, Sonic Sensors
Defense · Site ADeadlock delays both entries of A. One Barrier Mesh cuts A Main and another A Elbow, which gives your team time to rotate. The Sonic Sensors at the site entrance and at the A Elbow entrance warn you by sound. Weakness: a Barrier Mesh can be shot down, so it won't hold a determined push. 2023 guide: the legends name the zones without an exact layout, adjust in a custom game. A has only received minor fixes since.
- 1
 Barrier Mesh : Barrier Mesh across A Main to delay an entry through the corridor
 - 2Barrier Mesh : Barrier Mesh on A Elbow to delay a take through the connector
- 3
 Sonic Sensor : Sonic Sensor at the site entrance
 - 4Sonic Sensor : Sonic Sensor at the A Elbow entrance
Sunset tips
- Take mid right at the start of the round: it opens three routes to B and two to A, and cuts the defenders' rotation.
- Don't dry peek the 90-degree angles of B and A Alley: flash, drone or dog first, then enter.
- Sending everyone into B Main is risky, the corridor is narrow. Mix B Main, A Main, mid and lurks through the connectors to stay unpredictable.
- The barriers are close and the paths join up fast: after an A take, keep someone to watch your back.
- Place your crosshair at head height on the A Main angle from A Elbow and on the B Main one from B Market: these are common opening duels.
- The door between B Market and Mid Courtyard: breaking it gives both sides a new angle, so leave it closed if the angle favors you less.
Other maps
 AbyssCompetitive poolSite A · Site BAbyss is a two-site map with three lanes and no boundary walls: falling into the void kills instantly. It has been in the competitive queue since patch 13.04, in August 2026.4 setups
 BindCompetitive poolSite A · Site BBind has two sites, A and B, and no mid: two one-way teleporters link the sides. It is back in the competitive queue since patch 13.08.4 setups
 CorrodeCompetitive poolSite A · Site BCorrode is a two-site, three-lane map in a medieval fortress, with a long, narrow mid. It has been in the competitive queue since patch 11.00 and came back in 13.08.4 setups
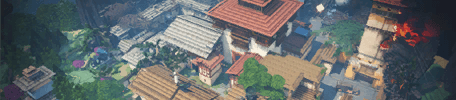 HavenCompetitive poolSite A · Site B · Site CHaven is the three-site map: A at the top of the minimap, B in the middle, C at the bottom. Attackers start from the east and pick a target, while defenders have to cover everything.4 setups
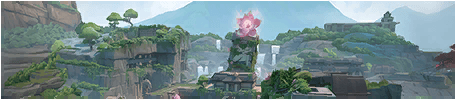 LotusCompetitive poolSite A · Site B · Site CLotus is a three-site map, A, B and C, set in a city of flowers in India. It plays with rotating doors, a breakable wall on the A side and a silent drop.6 setups
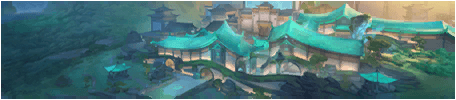 SummitCompetitive poolSite A · Site BSummit is a two-site map with three lanes, set in a Radiant academy in the mountains. Three reactive walls close during the round and change the rotations.
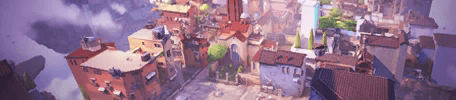 AscentOut of the competitive poolSite A · Site BAscent is a two-site map inspired by Venice, with a big open mid linking the two sites. It left the competitive queue in patch 13.08.4 setups
 BreezeOut of the competitive poolSite A · Site BBreeze is a two-site map on an island. Largely rebuilt at patch 12.00, it left the competitive queue at patch 13.04: be wary of guides from before January 2026.
 FractureOut of the competitive poolSite A · Site BFracture is a two-site map where attackers start at opposite ends, linked by a zipline, against defenders in the center. It left the competitive queue at patch 13.00.4 setups
 IceboxOut of the competitive poolSite A · Site BIcebox is a two-site map set in a frozen worksite: lots of height, stacked containers, a zipline at A and a mid split by the tube and the boiler.4 setups
 PearlOut of the competitive poolSite A · Site BPearl is a two-site map set in an underwater city, with no ropes and no teleporters. It left the competitive queue at patch 13.00.
 SplitOut of the competitive poolSite A · Site BSplit is a two-site map, A at the top and B at the bottom, linked by a mid. Narrow, full of high ground and ropes, it has a reputation for favoring defense.
A plan won't aim for you: measure your aim.
Sources
- playvalorant.com (opens in a new tab)
- playvalorant.com (2) (opens in a new tab)
- wiki.playvalorant.com (opens in a new tab)
- sportskeeda.com (opens in a new tab)
- sportskeeda.com (2) (opens in a new tab)
- sportskeeda.com (3) (opens in a new tab)
- sportskeeda.com (4) (opens in a new tab)
- oneesports.gg (opens in a new tab)
- dodge.gg (opens in a new tab)
- esports.net (opens in a new tab)
- prosettings.net (opens in a new tab)
Updated on October 15, 2026
Patch 13.08 data. Map names, callouts and minimaps: Riot Games, via valorant-api.com.