Competitive pool
Summit: callouts, site plans and setups
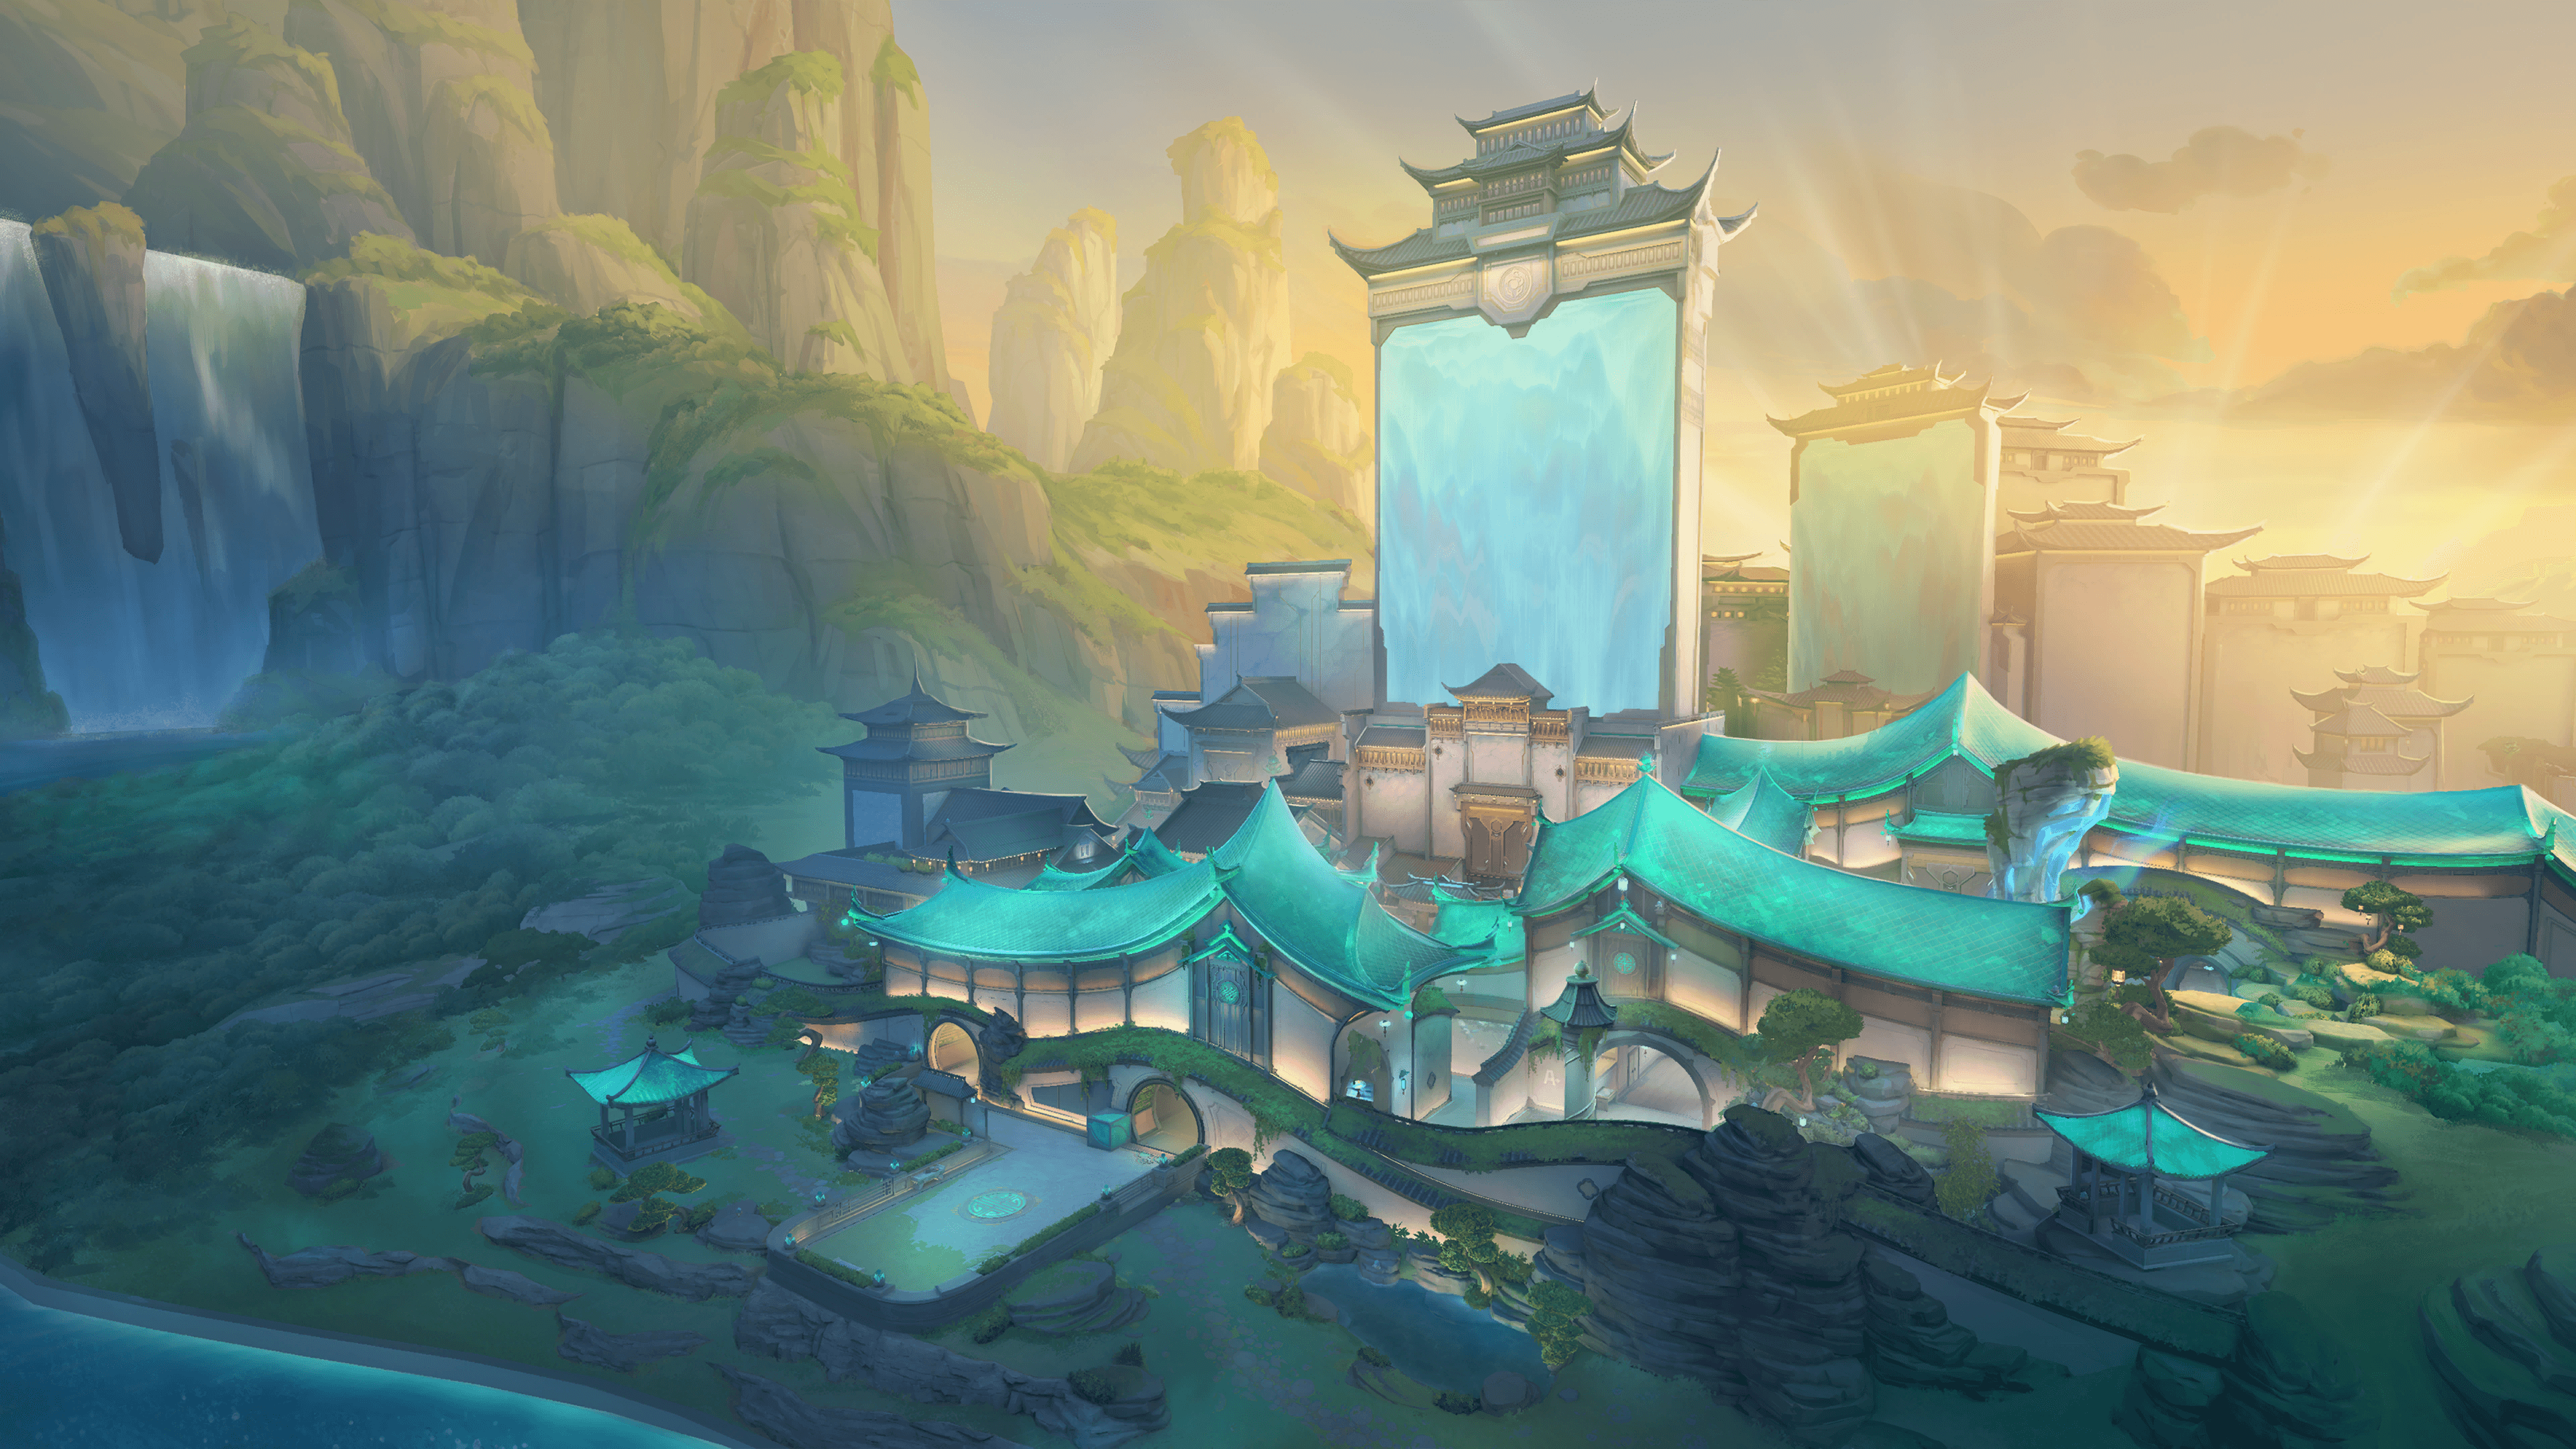
Summit is a two-site map with three lanes, set in a Radiant academy in the mountains. Three reactive walls close during the round and change the rotations.
- Sites
- Site A · Site B
- Release
- June 23, 2026, patch 13.00
- Status
- Competitive pool
Callouts
The official in-game names, as your client shows them, with the English name you will often hear in voice comms.
Scroll the map to read every name.
Site A
| In-game name |
|---|
| A Lobby |
| A Main |
| A Garden |
| A Site |
| A Art |
| A Cave |
| A Hall |
| A Link |
Site B
| In-game name |
|---|
| B Lobby |
| B Gym |
| B Trophy |
| B Tower |
| B Drop |
| B Site |
| B Link |
| B Main |
Mid
| In-game name |
|---|
| Mid Bottom |
| Mid Top |
| Mid Window |
| Mid Fountain |
| Mid Bend |
| Mid Tiles |
Spawns
| In-game name |
|---|
| Defender Spawn |
| Attacker Spawn |
Map layout
Summit has two sites and three lanes. The attacker spawn, at the bottom left, opens onto A Lobby and B Lobby. A is on the right, B on the left, and the defender spawn is at the very top, in the center. Mid is the heart of the map: Mid Top climbs to Mid Fountain, the central crossroads, which opens onto Mid Tiles on the B side, Mid Bend on the A side and Mid Bottom. From Mid Bottom, B Link reaches B and Mid Window looks toward the defender spawn. A Link connects A to Mid Bend. Rotations go through mid, so mid info matters a lot. The guides don't yet agree on whether attack or defense has the edge.
Key features
Three reactive walls: A, Mid and B
Each wall has a 125 HP switch. Once it drops, it stays closed until the end of the round and can't be raised again. It cuts a rotation or a line of sight and kills anyone standing under it, even while untouchable.
Where the walls are
The A wall drops between A Art and A Garden, with its switch in A Garden. The mid wall drops between Mid Window and Mid Bottom, with its switch in Mid Bottom. The B wall drops between B Tower and B Site, with its switch on the site side. Defenders reach them well before attackers do.
B rope and silent drop
A rope climbs from B Gym to B Tower. From B Tower, the drop down to B Drop stays silent if you don't run and don't fall from too high.
Wall openings and vents
Each wall keeps a small opening at the top: you can throw abilities through it and look through it. Vents also appear when the walls drop. Abilities placed under a wall that drops are destroyed.
Site A
A is the right-hand site on the map. You get there through A Main then A Garden, and A Link opens it to mid. The plant happens in the bottom right corner zone. A Art and A Cave, north of the site, give defenders crossfire angles.
Attack plan
Take Mid Fountain first to see the rotations, then enter through A Main up to A Garden. Smoke A Art first, then A Cave when your team reaches the site entrance, so you can plant without taking shots from the cave. Don't throw both at once. Plant in the zone and watch A Link from A Garden.
- 1Route : Entry through A Main up to A Garden
- 2Smoke : Smoke A Art first
- 3Smoke : Smoke A Cave at the site entrance
- 4Plant : Plant in the A zone
- 5Hold : Watch A Link from A Garden
Defense plan
Keep one player on A Garden, near the wall switch, and another on A Art or A Cave for the high angle. A third plays A Link, which also works as a relay to mid. Only drop the A wall if you can cut off an attack without cutting off your own rotation. A smoke on the A Main exit slows the entry. On the retake, group up before you enter.
- 1Hold : Hold A Garden, near the wall switch
- 2Hold : Hold A Art, high angle
- 3Hold : Hold A Link and the connection to mid
- 4Smoke : Smoke on the A Main exit
- 5Route : Retake through A Hall and A Art
Site B
B is the left-hand site on the map. B Main climbs to it from B Lobby, B Link opens it to mid, and B Tower overlooks it, with the B Gym rope and the drop down to B Drop. The B wall drops between the tower and the site.
Attack plan
Control mid, then enter through B Main. Smoke B Tower and the B Link path to the site at the start of the execute. B Gym and B Drop stay open: plan a flash or a barrier for them. Clear B Tower before you set foot on the site, because the rope, the drop and the wall all meet there. Plant, then hold from B Main.
- 1Route : Entry through B Main
- 2Smoke : Smoke B Tower
- 3Smoke : Smoke the B Link path to the site
- 4Flash : Flash or barrier for B Drop
- 5Plant : Plant in the B zone
- 6Hold : Post-plant from B Main
Defense plan
Put one player up high, on B Tower or B Gym, and another on the B Link side to cut the connection to mid. Take the rope or the silent drop down only if you have info. Don't drop the B wall before you're sure you won't lock yourself in. A smoke on the B Main exit slows the entry. To retake, group up, then go through B Link or B Tower.
- 1Hold : Hold B Tower, with the rope and the drop
- 2Hold : Hold B Trophy and B Gym, spawn side
- 3Hold : Hold B Link, connection to mid
- 4Smoke : Smoke on the B Main exit
- 5Route : Retake through B Gym and B Link
Sample comp
 OmenControllerHis smokes and teleports make up for the routes the walls block.
 CypherSentinelHis kit works well on the tight rotations the map forces.
 SageSentinelHer wall combines well with the map's reactive walls.
 KilljoySentinelThe compact sites suit her turret and her placed abilities.
 RazeDuelistIn tight lanes, her Paint Shells and Blast Packs deal real damage.
The five agents named as strong picks by TheSpike (launch guide, June 2026), not pro stats. The other guides read (Beebom, rankforge, games.gg) give different lists by role.
Summit tips
- Take Mid Fountain early: it's the crossroads that opens onto Mid Tiles, Mid Bend and Mid Bottom, so onto both sites.
- Call out the state of each wall out loud (A, Mid, B). A dropped wall cuts a rotation, and a teammate can get stuck behind it.
- Get out from under a wall as soon as it starts to come down: it kills everything under it and destroys placed abilities.
- In the narrow lanes of mid, keep your crosshair at head height on the angle of Mid Fountain and Mid Bend: duels there are fought at short range.
- Don't place a turret or a trap under a wall: if it drops, the ability is destroyed. Aim for the top opening to throw your abilities instead.
- Before you enter B, clear B Tower: the rope, the drop and the wall all meet there.
Other maps
 AbyssCompetitive poolSite A · Site BAbyss is a two-site map with three lanes and no boundary walls: falling into the void kills instantly. It has been in the competitive queue since patch 13.04, in August 2026.4 setups
 BindCompetitive poolSite A · Site BBind has two sites, A and B, and no mid: two one-way teleporters link the sides. It is back in the competitive queue since patch 13.08.4 setups
 CorrodeCompetitive poolSite A · Site BCorrode is a two-site, three-lane map in a medieval fortress, with a long, narrow mid. It has been in the competitive queue since patch 11.00 and came back in 13.08.4 setups
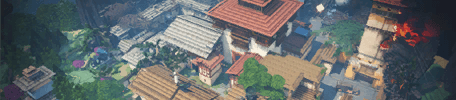 HavenCompetitive poolSite A · Site B · Site CHaven is the three-site map: A at the top of the minimap, B in the middle, C at the bottom. Attackers start from the east and pick a target, while defenders have to cover everything.4 setups
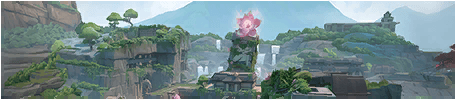 LotusCompetitive poolSite A · Site B · Site CLotus is a three-site map, A, B and C, set in a city of flowers in India. It plays with rotating doors, a breakable wall on the A side and a silent drop.6 setups
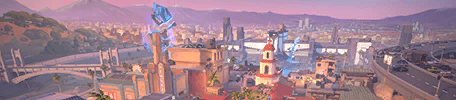 SunsetCompetitive poolSite A · Site BSunset is a classic two-site, three-lane map set in Los Angeles. Mid is wide and links the two sites through connectors: whoever holds it sets the pace of the round.5 setups
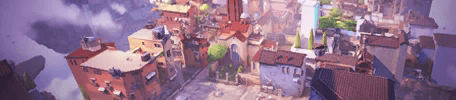 AscentOut of the competitive poolSite A · Site BAscent is a two-site map inspired by Venice, with a big open mid linking the two sites. It left the competitive queue in patch 13.08.4 setups
 BreezeOut of the competitive poolSite A · Site BBreeze is a two-site map on an island. Largely rebuilt at patch 12.00, it left the competitive queue at patch 13.04: be wary of guides from before January 2026.
 FractureOut of the competitive poolSite A · Site BFracture is a two-site map where attackers start at opposite ends, linked by a zipline, against defenders in the center. It left the competitive queue at patch 13.00.4 setups
 IceboxOut of the competitive poolSite A · Site BIcebox is a two-site map set in a frozen worksite: lots of height, stacked containers, a zipline at A and a mid split by the tube and the boiler.4 setups
 PearlOut of the competitive poolSite A · Site BPearl is a two-site map set in an underwater city, with no ropes and no teleporters. It left the competitive queue at patch 13.00.
 SplitOut of the competitive poolSite A · Site BSplit is a two-site map, A at the top and B at the bottom, linked by a mid. Narrow, full of high ground and ropes, it has a reputation for favoring defense.
A plan won't aim for you: measure your aim.
Sources
- playvalorant.com (opens in a new tab)
- playvalorant.com (2) (opens in a new tab)
- thespike.gg (opens in a new tab)
- beebom.com (opens in a new tab)
- valorant-spind.de (opens in a new tab)
- rankforge.gg (opens in a new tab)
- games.gg (opens in a new tab)
- wiki.playvalorant.com (opens in a new tab)
- allthings.how (opens in a new tab)
Updated on October 15, 2026
Patch 13.08 data. Map names, callouts and minimaps: Riot Games, via valorant-api.com.