Out of the competitive pool
Ascent: callouts, site plans and setups
Ascent is a two-site map inspired by Venice, with a big open mid linking the two sites. It left the competitive queue in patch 13.08.
- Sites
- Site A · Site B
- Release
- June 2, 2020, patch 1.0
- Status
- Out of the competitive pool
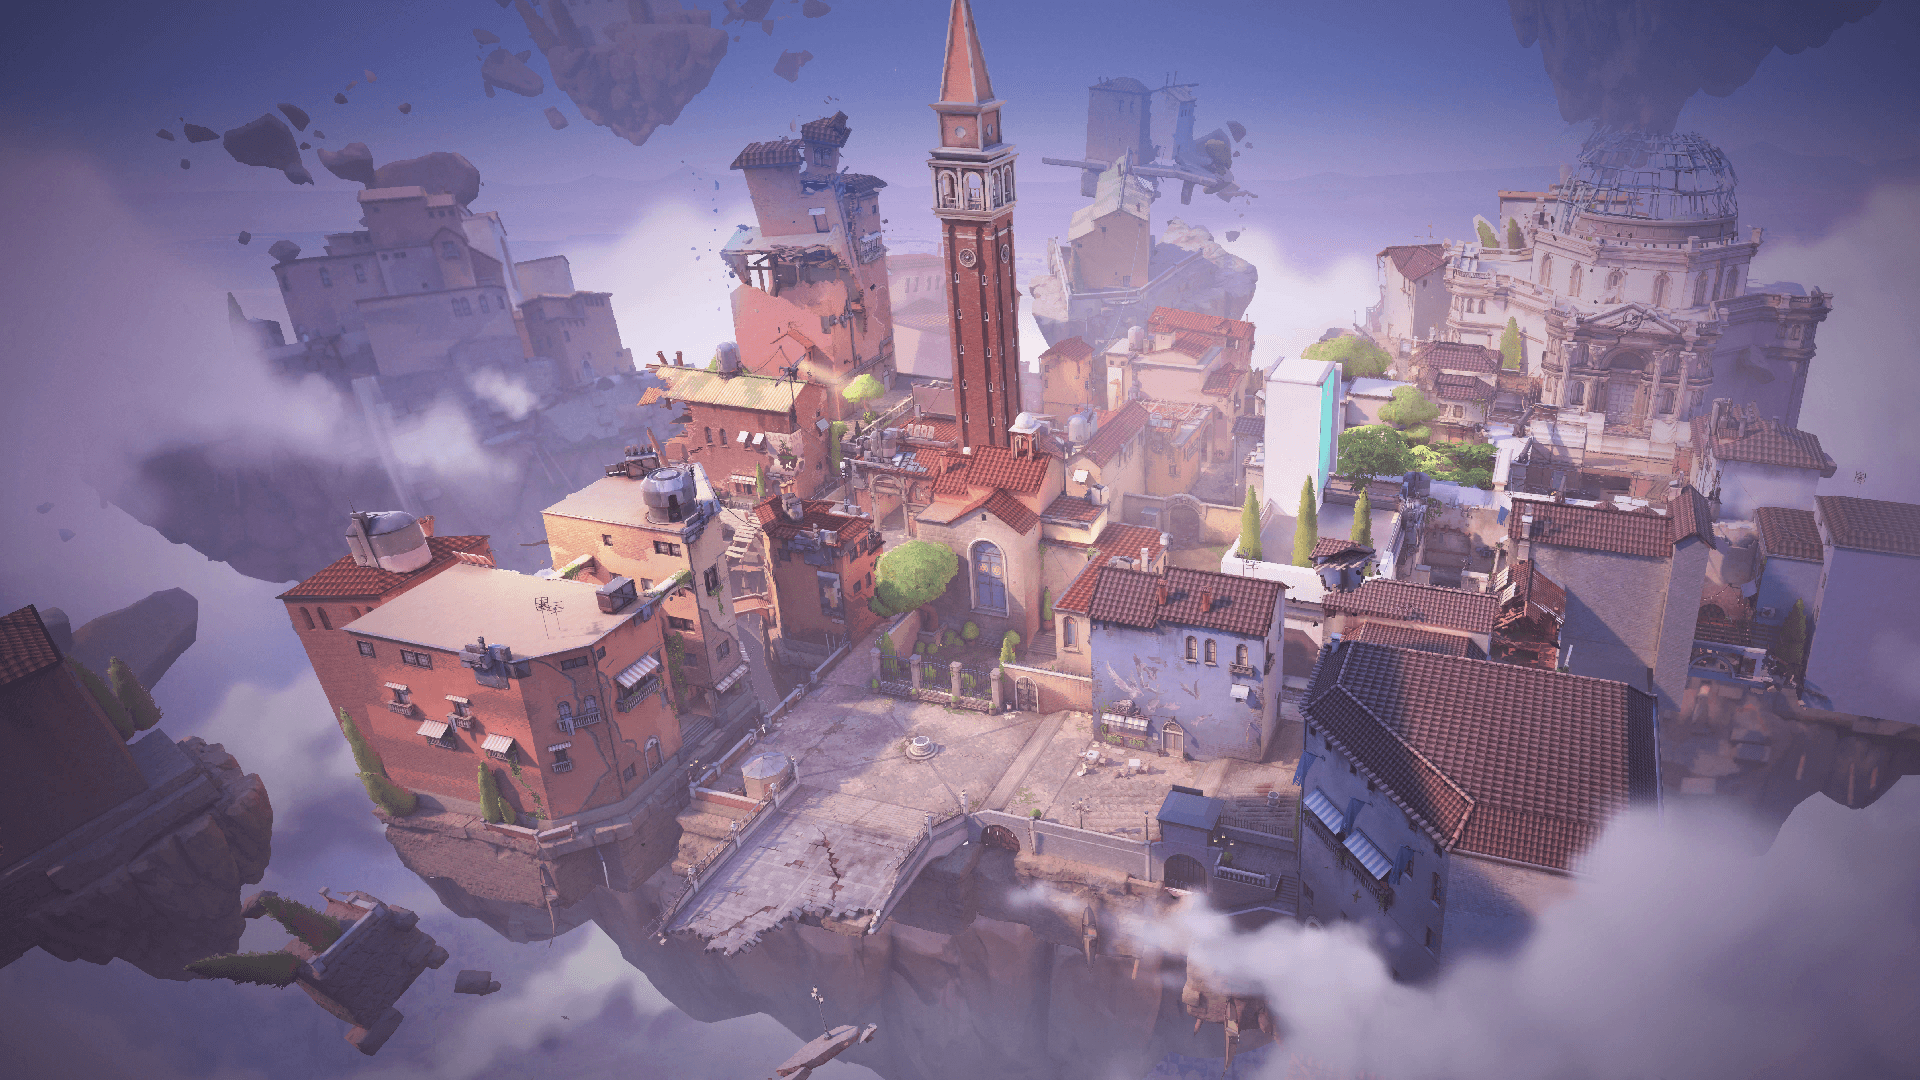
Callouts
The official in-game names, as your client shows them, with the English name you will often hear in voice comms.
Scroll the map to read every name.
Site A
| In-game name |
|---|
| A Tree |
| A Lobby |
| A Main |
| A Window |
| A Site |
| A Garden |
| A Rafters |
| A Wine |
Site B
| In-game name |
|---|
| B Lobby |
| B Main |
| B Boat House |
| B Site |
Mid
| In-game name |
|---|
| Mid Bottom |
| Mid Catwalk |
| Mid Cubby |
| Mid Market |
| Mid Courtyard |
| Mid Link |
| Mid Pizza |
| Mid Top |
Spawns
| In-game name |
|---|
| Attacker Spawn |
| Defender Spawn |
Map layout
Ascent has two sites, A to the north and B to the south, separated by a big mid that both teams fight over. Whoever holds mid sets the speed of rotations and executes. From Mid Top, you go down through Mid Catwalk toward A Link, or through Mid Market toward B. For A, you can also take A Lobby then A Main, a safer corridor since you don't have to control mid. For B, B Main is also the safest route, but it's a choke where defenders and an Operator wait for you. According to Dexerto, a lost A site is easier to retake than B. The open sky and long sight lines reward the Operator, especially from B Main.
Key features
Mechanical doors on A and Market
Two metal doors open at the start of the round: the one at A Link and the one at Market. A switch on the site side closes them. Closed, a door cuts the view during a plant or a retake. It has 500 HP: once destroyed, it stays open until the end of the round.
Mid, the rotation crossroads
Mid links both spawns and both sites. Mid Catwalk leads toward A Link, Mid Market toward B. Whoever holds mid sets the pace of the other team's rotations. Defenders hold it from Mid Cubby or from Market.
Destructible mid walls
Two walls separate Mid Courtyard from Mid Link. Each has a 400 HP destructible panel that stops bullets as long as it holds. It goes from blue to yellow to red as it takes damage. Once destroyed, shooting through the wall is possible until the end of the round.
Heaven and Hell
Heaven is the raised platform on A, a strong angle for defense and retakes. Hell is the area below it, where defenders hide from view and from where attackers can hold a post-plant. After an entry, clear it.
Site A
A is the biggest site: a courtyard with a generator, crates and Heaven up high, overlooking the site. Attackers come in through A Main, which is safer, or through A Link and Tree from mid. Defenders have good crossing angles, and the site retakes fairly well.
Attack plan
Take mid first if you want to enter through A Link, otherwise go through A Main without mid. Smoke Heaven, Tree and the door before entering, with a Duelist in front and a Controller behind. Enter through A Main from A Lobby, or in parallel through Tree. Plant near the generator, the big black crate on the site: from there you cover Short, Hell, Main and Wine. After the plant, hold from A Main and from Hell. Keep in mind that defenders can close the A Link door with the switch.
- 1Smoke : Smoke Heaven (A Rafters)
- 2Smoke : Smoke Tree
- 3Smoke : Smoke the A Link door
- 4Route : Entry through A Lobby, A Main then the site
- 5Plant : Plant near the generator
- 6Hold : Post-plant from A Main
- 7Hold : Post-plant from Hell
Defense plan
Anchor Heaven and Tree to crossfire A Main. Slow the entry with a smoke or a flash on the A Main choke, and keep support coming from mid or the spawn. If the site falls, retake from Heaven or through the Garden, then clear Wine, Hell and Tree. An alarm or a wire on the A Link door warns you before the attack is on you.
- 1Hold : Hold from Heaven
- 2Hold : Hold from Tree
- 3Smoke : Smoke the A Main entrance
- 4Trap : Alarm on the A Link door
- 5Route : Retake through the Garden then Heaven
Site B
B is a shorter site, with boxes in the center and the Boat House at the back. You have to clear angles like Logs before going in. Defenders hold from the Boat House, the back of the site and Market. Since patch 10.04, part of the B Main wall along B Lane can no longer be shot through.
Attack plan
B Main is the safe route, but it puts little pressure on; going through Market first requires control of mid. Flash and smoke the line between B Lobby and B Main, where defenders peek out, and smoke Market toward the defender spawn. Cut off the Boat House with an ability, clear Logs, then enter as a group after the first duel, without letting an Operator hold B Main. Plant in front of the Boat House or behind the center boxes. One player watches the B Main angle.
- 1Smoke : Smoke Market toward the defender spawn
- 2Smoke : Smoke the Boat House
- 3Flash : Flash on B Main
- 4Route : Entry through B Lobby and B Main
- 5Plant : Plant behind the boxes
- 6Hold : Post-plant on the B Main angle
Defense plan
Hold from the Boat House, one of the best positions, or from the back of the site. Put abilities on B Main and on the alley at the entrance: a Killjoy or a Cypher makes every push pay there. A player at Market forces the attackers to split. If the site falls, retake through Market and from the defender spawn, with an info ability in B Main.
- 1Hold : Hold from the Boat House
- 2Hold : Hold from Market
- 3Trap : Alarm on the B Main entrance
- 4Info : Info in B Main
- 5Route : Retake through Market and the spawn
Agent setups
The placements top guides recommend on this map, ability by ability.
 Killjoy
All Killjoy setupsKilljoy A: Turret on the crates, Alarmbot and Nanoswarms at the door
Defense · Site A- 1
 TURRET : Turret on the stacked crates on the left wall, or on their raised part
 - 2
 ALARMBOT : Alarmbot on the path to the A Link door
 - 3
 Nanoswarm : Nanoswarm around the Alarmbot in front of the door: those hit stay in the zone
 - 4Nanoswarm : Nanoswarm on the default plant, to punish a planter
Killjoy B: Turret on the boxes, Alarmbot and Nanoswarm in the alley
Defense · Site B- 1TURRET : Turret on top of the green boxes on the site (variant: Logs)
- 2ALARMBOT : Alarmbot in the alley where attackers push
- 3Nanoswarm : Nanoswarm next to the alley Alarmbot
- 4Nanoswarm : Nanoswarm on the default plant
 Cypher
All Cypher setupsCypher B: camera on the B Main entrance, wire at the Market door
Defense · Site B- 1
 Spycam : Spycam above the B Main entrance
 - 2
 Trapwire : Trapwire near the switch of the door to Market
 Vyse
Vyse
Vyse A: two Razorvines in front of the site doors
Defense · Site AIn the guide, two Razorvines are placed on the site floor, in front of the arched door and the neighboring metal door. They slow and hurt an attacker coming in, long enough for your teammates to hit him. The Arc Rose and the Shear also have placements in the source, but I couldn't place them on the map.
- 1
 Razorvine : Razorvine in front of the arched door
 - 2Razorvine : Razorvine in front of the neighboring metal door
Ascent tips
- In general, take mid before anything else: without it, you spend your abilities early and rotate badly between A and B. Otherwise, avoid depending on it and go through A Main or B Main.
- Against A Main, keep your crosshair at head height on the choke, where the defenders from Heaven and Tree come out. Avoid advancing while running: you often lose the duel.
- On B Main, an Operator holds the corridor well: smoke or flash the line between B Lobby and B Main before you peek.
- The A Link and Market doors close with a switch on the site side: account for them before pushing, or destroy them (500 HP).
- Clear Hell and Wine after the entry on A, because a hidden defender can trap you from behind.
- If you hold mid, choose between Mid Cubby and Mid Market: those are the two mid defense positions, with different angles.
Other maps
 AbyssCompetitive poolSite A · Site BAbyss is a two-site map with three lanes and no boundary walls: falling into the void kills instantly. It has been in the competitive queue since patch 13.04, in August 2026.4 setups
 BindCompetitive poolSite A · Site BBind has two sites, A and B, and no mid: two one-way teleporters link the sides. It is back in the competitive queue since patch 13.08.4 setups
 CorrodeCompetitive poolSite A · Site BCorrode is a two-site, three-lane map in a medieval fortress, with a long, narrow mid. It has been in the competitive queue since patch 11.00 and came back in 13.08.4 setups
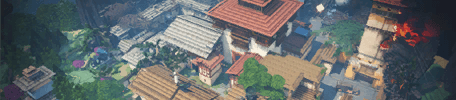 HavenCompetitive poolSite A · Site B · Site CHaven is the three-site map: A at the top of the minimap, B in the middle, C at the bottom. Attackers start from the east and pick a target, while defenders have to cover everything.4 setups
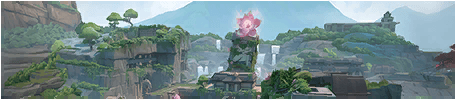 LotusCompetitive poolSite A · Site B · Site CLotus is a three-site map, A, B and C, set in a city of flowers in India. It plays with rotating doors, a breakable wall on the A side and a silent drop.6 setups
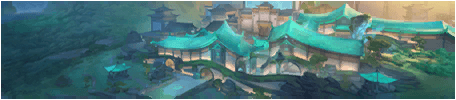 SummitCompetitive poolSite A · Site BSummit is a two-site map with three lanes, set in a Radiant academy in the mountains. Three reactive walls close during the round and change the rotations.
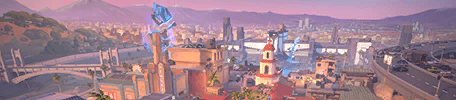 SunsetCompetitive poolSite A · Site BSunset is a classic two-site, three-lane map set in Los Angeles. Mid is wide and links the two sites through connectors: whoever holds it sets the pace of the round.5 setups
 BreezeOut of the competitive poolSite A · Site BBreeze is a two-site map on an island. Largely rebuilt at patch 12.00, it left the competitive queue at patch 13.04: be wary of guides from before January 2026.
 FractureOut of the competitive poolSite A · Site BFracture is a two-site map where attackers start at opposite ends, linked by a zipline, against defenders in the center. It left the competitive queue at patch 13.00.4 setups
 IceboxOut of the competitive poolSite A · Site BIcebox is a two-site map set in a frozen worksite: lots of height, stacked containers, a zipline at A and a mid split by the tube and the boiler.4 setups
 PearlOut of the competitive poolSite A · Site BPearl is a two-site map set in an underwater city, with no ropes and no teleporters. It left the competitive queue at patch 13.00.
 SplitOut of the competitive poolSite A · Site BSplit is a two-site map, A at the top and B at the bottom, linked by a mid. Narrow, full of high ground and ropes, it has a reputation for favoring defense.
A plan won't aim for you: measure your aim.
Sources
- playvalorant.com (opens in a new tab)
- playvalorant.com (2) (opens in a new tab)
- prosettings.net (opens in a new tab)
- esports.net (opens in a new tab)
- dexerto.com (opens in a new tab)
- attackofthefanboy.com (opens in a new tab)
- oneesports.gg (opens in a new tab)
- sportskeeda.com (opens in a new tab)
- hotspawn.com (opens in a new tab)
- wiki.playvalorant.com (opens in a new tab)
- playvalorant.com (3) (opens in a new tab)
Updated on October 15, 2026
Patch 13.08 data. Map names, callouts and minimaps: Riot Games, via valorant-api.com.