Out of the competitive pool
Icebox: callouts, site plans and setups
Icebox is a two-site map set in a frozen worksite: lots of height, stacked containers, a zipline at A and a mid split by the tube and the boiler.
- Sites
- Site A · Site B
- Release
- October 13, 2020, patch 1.10
- Status
- Out of the competitive pool
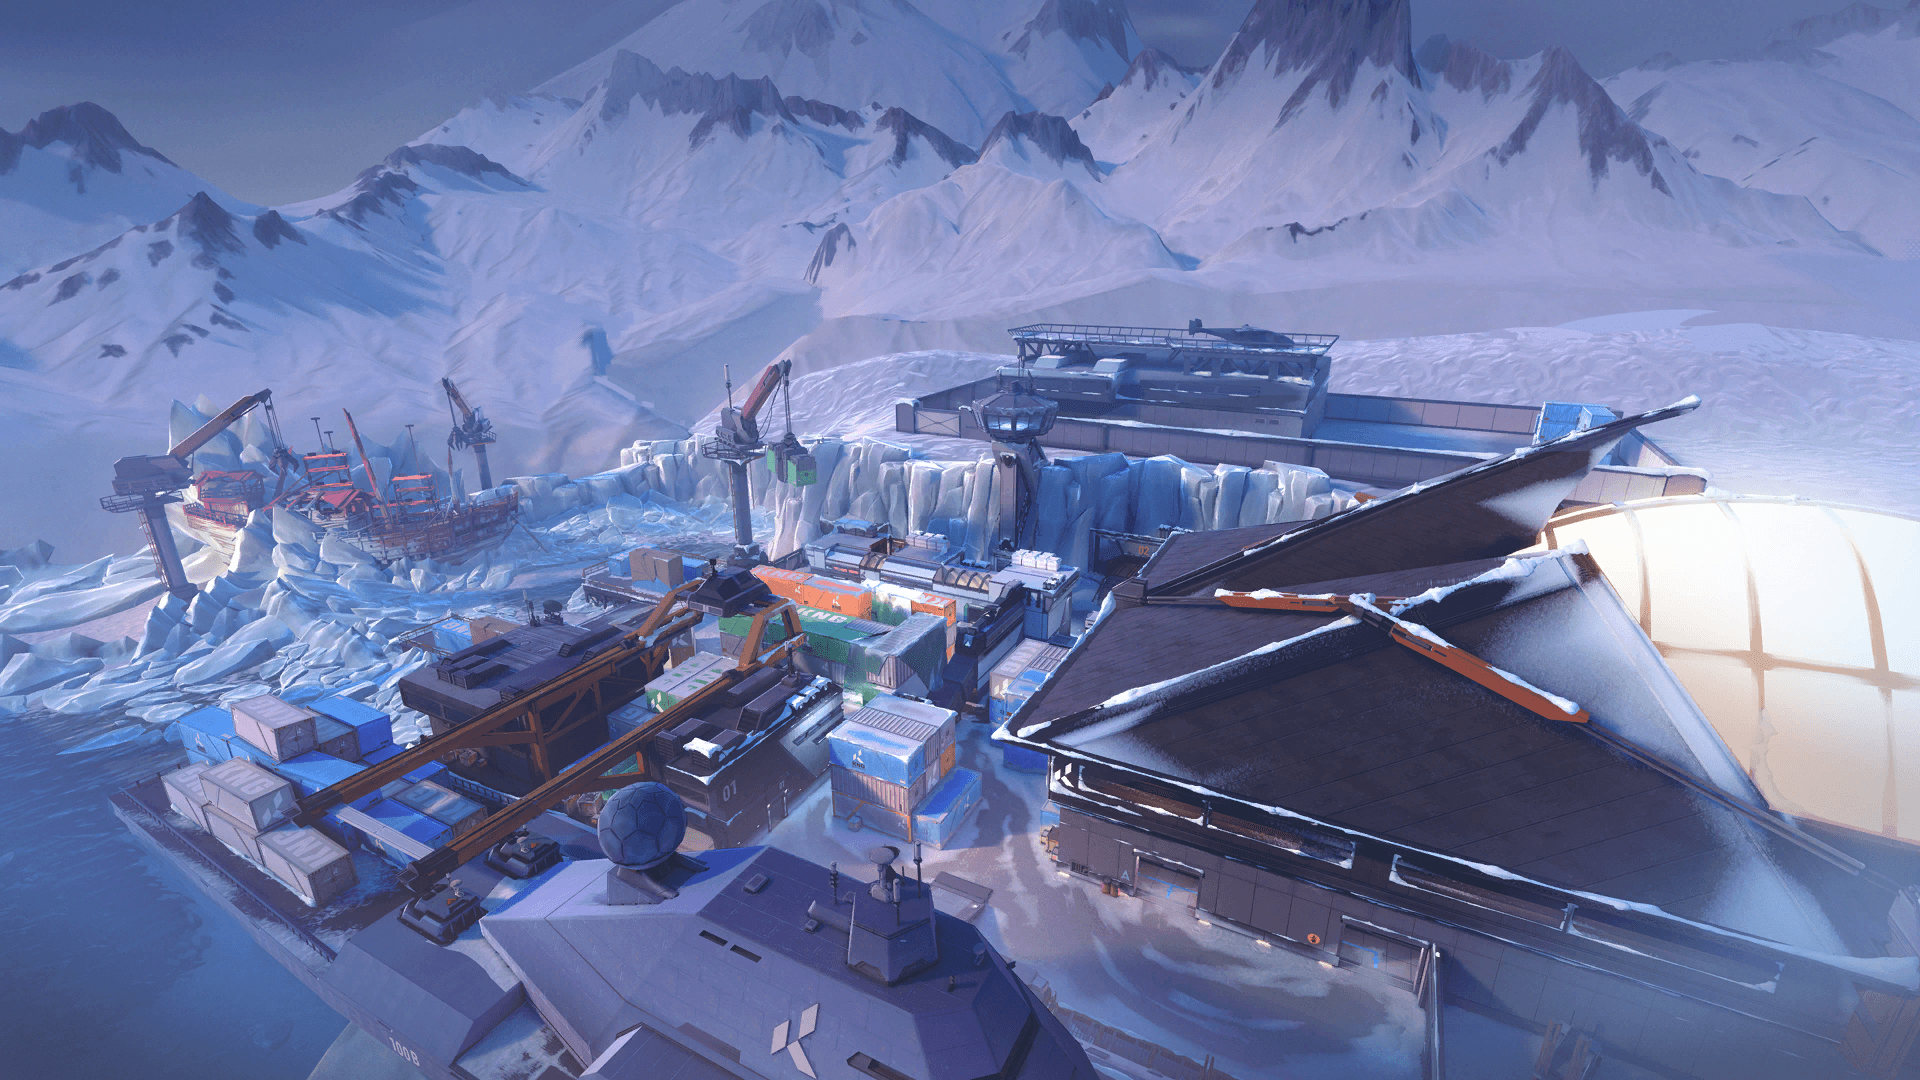
Callouts
The official in-game names, as your client shows them, with the English name you will often hear in voice comms.
Scroll the map to read every name.
Site A
| In-game name |
|---|
| A Belt |
| A Nest |
| A Pipes |
| A Rafters |
| A Screen |
| A Site |
Site B
| In-game name |
|---|
| B Garage |
| B Yellow |
| B Back |
| B Cubby |
| B Green |
| B Hall |
| B Hut |
| B Kitchen |
| B Orange |
| B Site |
| B Snowman |
| B Snow Pile |
| B Tube |
| B Fence |
Mid
| In-game name |
|---|
| Mid Blue |
| Mid Boiler |
| Mid Pallet |
Spawns
| In-game name |
|---|
| Attacker Spawn |
| Defender Spawn |
Map layout
Icebox has two sites. A is at the bottom of the minimap and plays on several levels: A Nest and A Pipes are high up, A Rafters runs along the back of the site. B is at the top, narrower, and is built around the big yellow container (B Yellow). Mid is open, with the tube (B Tube), the boiler (Mid Boiler) and the kitchen (B Kitchen), which link the sites and the defender side. Controlling mid gives attackers a second access, so holding Mid Boiler or B Kitchen matters for the defense. Fights are long range at A and shorter at B. Patches 4.04 and then 8.01 reworked B and mid: be wary of an old B guide.
Key features
A horizontal zipline
Icebox is the first map with a horizontal zipline. At A, it links the A Nest side to the site side: you can hold A Nest and surprise an enemy who doesn't check that height.
The mid tube and boiler
Mid is split by a tube and by Mid Boiler. The tube links A, B and the defender spawn, and the kitchen connects to it. Players on both sides use it to surprise an opponent or a lurker.
B Yellow and containers
B revolves around the yellow container and stacks of containers. Patch 4.04 weakened Yellow, widened Green and closed the bottom container. Patch 8.01 removed the hanging container from Green: an old B guide can be wrong.
Verticality at A
A plays on several levels: Nest and Pipes are high up, and you get there by the zipline or with Jett's Updraft. Look up and down before you enter, one forgotten angle is enough to lose a duel.
Site A
A is a multi-level site. The plant happens in the A Site zone, with A Nest and A Pipes high up on the attack side, A Rafters at the back and A Screen to the north, on the mid side. Defenders play high and low, and the retake is hard. Attackers come in through A Belt, on the side of their spawn.
Attack plan
Take mid or A Belt with info (drone, arrow) before you enter. A Viper Toxic Screen from the bottom of A Belt cuts off A Screen and A Rafters, and a smoke on the high positions (Nest, Rafters) takes the height away. Then enter through A Belt with flashes. Plant in the site zone, then hold an angle near the plant and check Screen and Rafters before you give up the angle.
- 1Wall : Viper Toxic Screen from the bottom of A Belt
- 2Smoke : Smoke A Nest
- 3Smoke : Smoke A Rafters
- 4Route : Entry through A Belt
- 5Plant : Plant in the A Site zone
- 6Hold : Post-plant near the plant, facing Screen
Defense plan
Split the roles by height: one player on A Nest or A Rafters, another on the ground near A Screen. A Viper Toxic Screen across the choke near A Pipes slows the site take. A smoke or a wall also helps on the retake. If the site falls, retake through A Screen with your abilities at the same time and look up before you enter.
- 1Hold : Hold from A Nest
- 2Hold : Hold from A Rafters
- 3Hold : Hold on the ground near A Screen
- 4Wall : Wall on the A Pipes choke
- 5Route : Retake through A Screen
Site B
B is tighter than A. The yellow container, Snowman and the back of the site create short angles. Since patches 4.04 and 8.01, Yellow is weaker and the plant zone extends toward Green and Snowman.
Attack plan
Enter through the Garage, Green, Cubby route: patch 4.04 widened Green for a group push. A Viper Toxic Screen cuts off Snowman and the top of the site, and a smoke can cover the yellow container angle. You can also plant on the bridge toward the high container. After the plant, hold Yellow and Cubby, and a teammate can come back up from mid to catch a defuse.
- 1Route : Entry through Garage, Green, Cubby
- 2Wall : Viper Toxic Screen toward Snowman and the top of the site
- 3Smoke : Smoke on the yellow container angle
- 4Plant : Plant in the B Site zone
- 5Hold : Post-plant from Cubby
Defense plan
With two players, one watches mid and the other jump-peeks Yellow for quick info, then falls back. A Viper Toxic Screen or a smoke cuts off Snowman and the site, useful on the retake too. On the retake, come in through B Kitchen and B Hall at the same time.
- 1Hold : Hold from Yellow
- 2Hold : Hold from Snowman
- 3Hold : Watch B Kitchen toward mid
- 4Wall : Wall toward Snowman and the site
- 5Route : Retake through B Kitchen and B Hall
Agent setups
The placements top guides recommend on this map, ability by ability.
 Killjoy
All Killjoy setupsKilljoy A: Alarmbot on the site, Nanoswarm on the plant
Defense · Site A- 1
 ALARMBOT : Alarmbot on the site to spot a take (approximate zone)
 - 2
 Nanoswarm : Nanoswarm on the default plant to delay it
Killjoy B: Turret near Snowman, Alarmbot behind Yellow
Defense · Site B- 1
 TURRET : Turret at the back, near Snowman
 - 2ALARMBOT : Alarmbot behind Yellow, against hidden enemies
- 3Nanoswarm : Nanoswarm on a default B Site plant
 Viper
Viper
Viper A: wall on the A Pipes choke, cloud up high
Defense · Site AAttackers go through a choke near A Pipes to enter A. A Toxic Screen there cuts off their approach. A Poison Cloud placed on A Pipes works as a one-way smoke so you can play early. Retake the site with the wall as soon as the attackers have taken it.
- 1
 Toxic Screen : Toxic Screen across the choke near A Pipes
 - 2
 Poison Cloud : Poison Cloud above A Pipes for a one-way angle early in the round
Viper B: wall on Snowman and the site, cloud on Green
Defense · Site BThe classic wall cuts the view toward Snowman and the site, useful on the retake too. A Poison Cloud on a B Green crate, facing B Main, gives a one-way angle and, with the wall, makes taking B a pain.
- 1Toxic Screen : Toxic Screen that cuts the view toward Snowman and the site
- 2Poison Cloud : Poison Cloud on a B Green crate, facing B Main
Icebox tips
- Look up and down before you enter A: Nest and Pipes hide angles that are easy to forget.
- Put your crosshair at head height on Yellow and Snowman before you enter B, duels there are short.
- Decide on a mid plan every round: Mid Boiler and B Kitchen matter for rotations.
- On B defense, only one player jump-peeks Yellow for info, then falls back, don't cling to it all round.
- After the plant at A, cover A Belt, then check Nest and Rafters before you give up your angle.
- Icebox is out of the competitive queue at patch 13.08: practice in unrated or in a custom game.
Other maps
 AbyssCompetitive poolSite A · Site BAbyss is a two-site map with three lanes and no boundary walls: falling into the void kills instantly. It has been in the competitive queue since patch 13.04, in August 2026.4 setups
 BindCompetitive poolSite A · Site BBind has two sites, A and B, and no mid: two one-way teleporters link the sides. It is back in the competitive queue since patch 13.08.4 setups
 CorrodeCompetitive poolSite A · Site BCorrode is a two-site, three-lane map in a medieval fortress, with a long, narrow mid. It has been in the competitive queue since patch 11.00 and came back in 13.08.4 setups
 HavenCompetitive poolSite A · Site B · Site CHaven is the three-site map: A at the top of the minimap, B in the middle, C at the bottom. Attackers start from the east and pick a target, while defenders have to cover everything.4 setups
 LotusCompetitive poolSite A · Site B · Site CLotus is a three-site map, A, B and C, set in a city of flowers in India. It plays with rotating doors, a breakable wall on the A side and a silent drop.6 setups
 SummitCompetitive poolSite A · Site BSummit is a two-site map with three lanes, set in a Radiant academy in the mountains. Three reactive walls close during the round and change the rotations.
 SunsetCompetitive poolSite A · Site BSunset is a classic two-site, three-lane map set in Los Angeles. Mid is wide and links the two sites through connectors: whoever holds it sets the pace of the round.5 setups
 AscentOut of the competitive poolSite A · Site BAscent is a two-site map inspired by Venice, with a big open mid linking the two sites. It left the competitive queue in patch 13.08.4 setups
 BreezeOut of the competitive poolSite A · Site BBreeze is a two-site map on an island. Largely rebuilt at patch 12.00, it left the competitive queue at patch 13.04: be wary of guides from before January 2026.
 FractureOut of the competitive poolSite A · Site BFracture is a two-site map where attackers start at opposite ends, linked by a zipline, against defenders in the center. It left the competitive queue at patch 13.00.4 setups
 PearlOut of the competitive poolSite A · Site BPearl is a two-site map set in an underwater city, with no ropes and no teleporters. It left the competitive queue at patch 13.00.
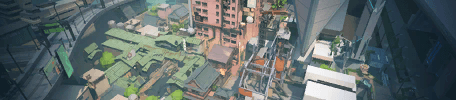 SplitOut of the competitive poolSite A · Site BSplit is a two-site map, A at the top and B at the bottom, linked by a mid. Narrow, full of high ground and ropes, it has a reputation for favoring defense.
A plan won't aim for you: measure your aim.
Sources
- playvalorant.com (opens in a new tab)
- playvalorant.com (2) (opens in a new tab)
- ggrecon.com (opens in a new tab)
- attackofthefanboy.com (opens in a new tab)
- thespike.gg (opens in a new tab)
- oneesports.gg (opens in a new tab)
- dodge.gg (opens in a new tab)
- sportskeeda.com (opens in a new tab)
- playvalorant.com (3) (opens in a new tab)
- thespike.gg (2) (opens in a new tab)
Updated on October 15, 2026
Patch 13.08 data. Map names, callouts and minimaps: Riot Games, via valorant-api.com.