Competitive pool
Lotus: callouts, site plans and setups
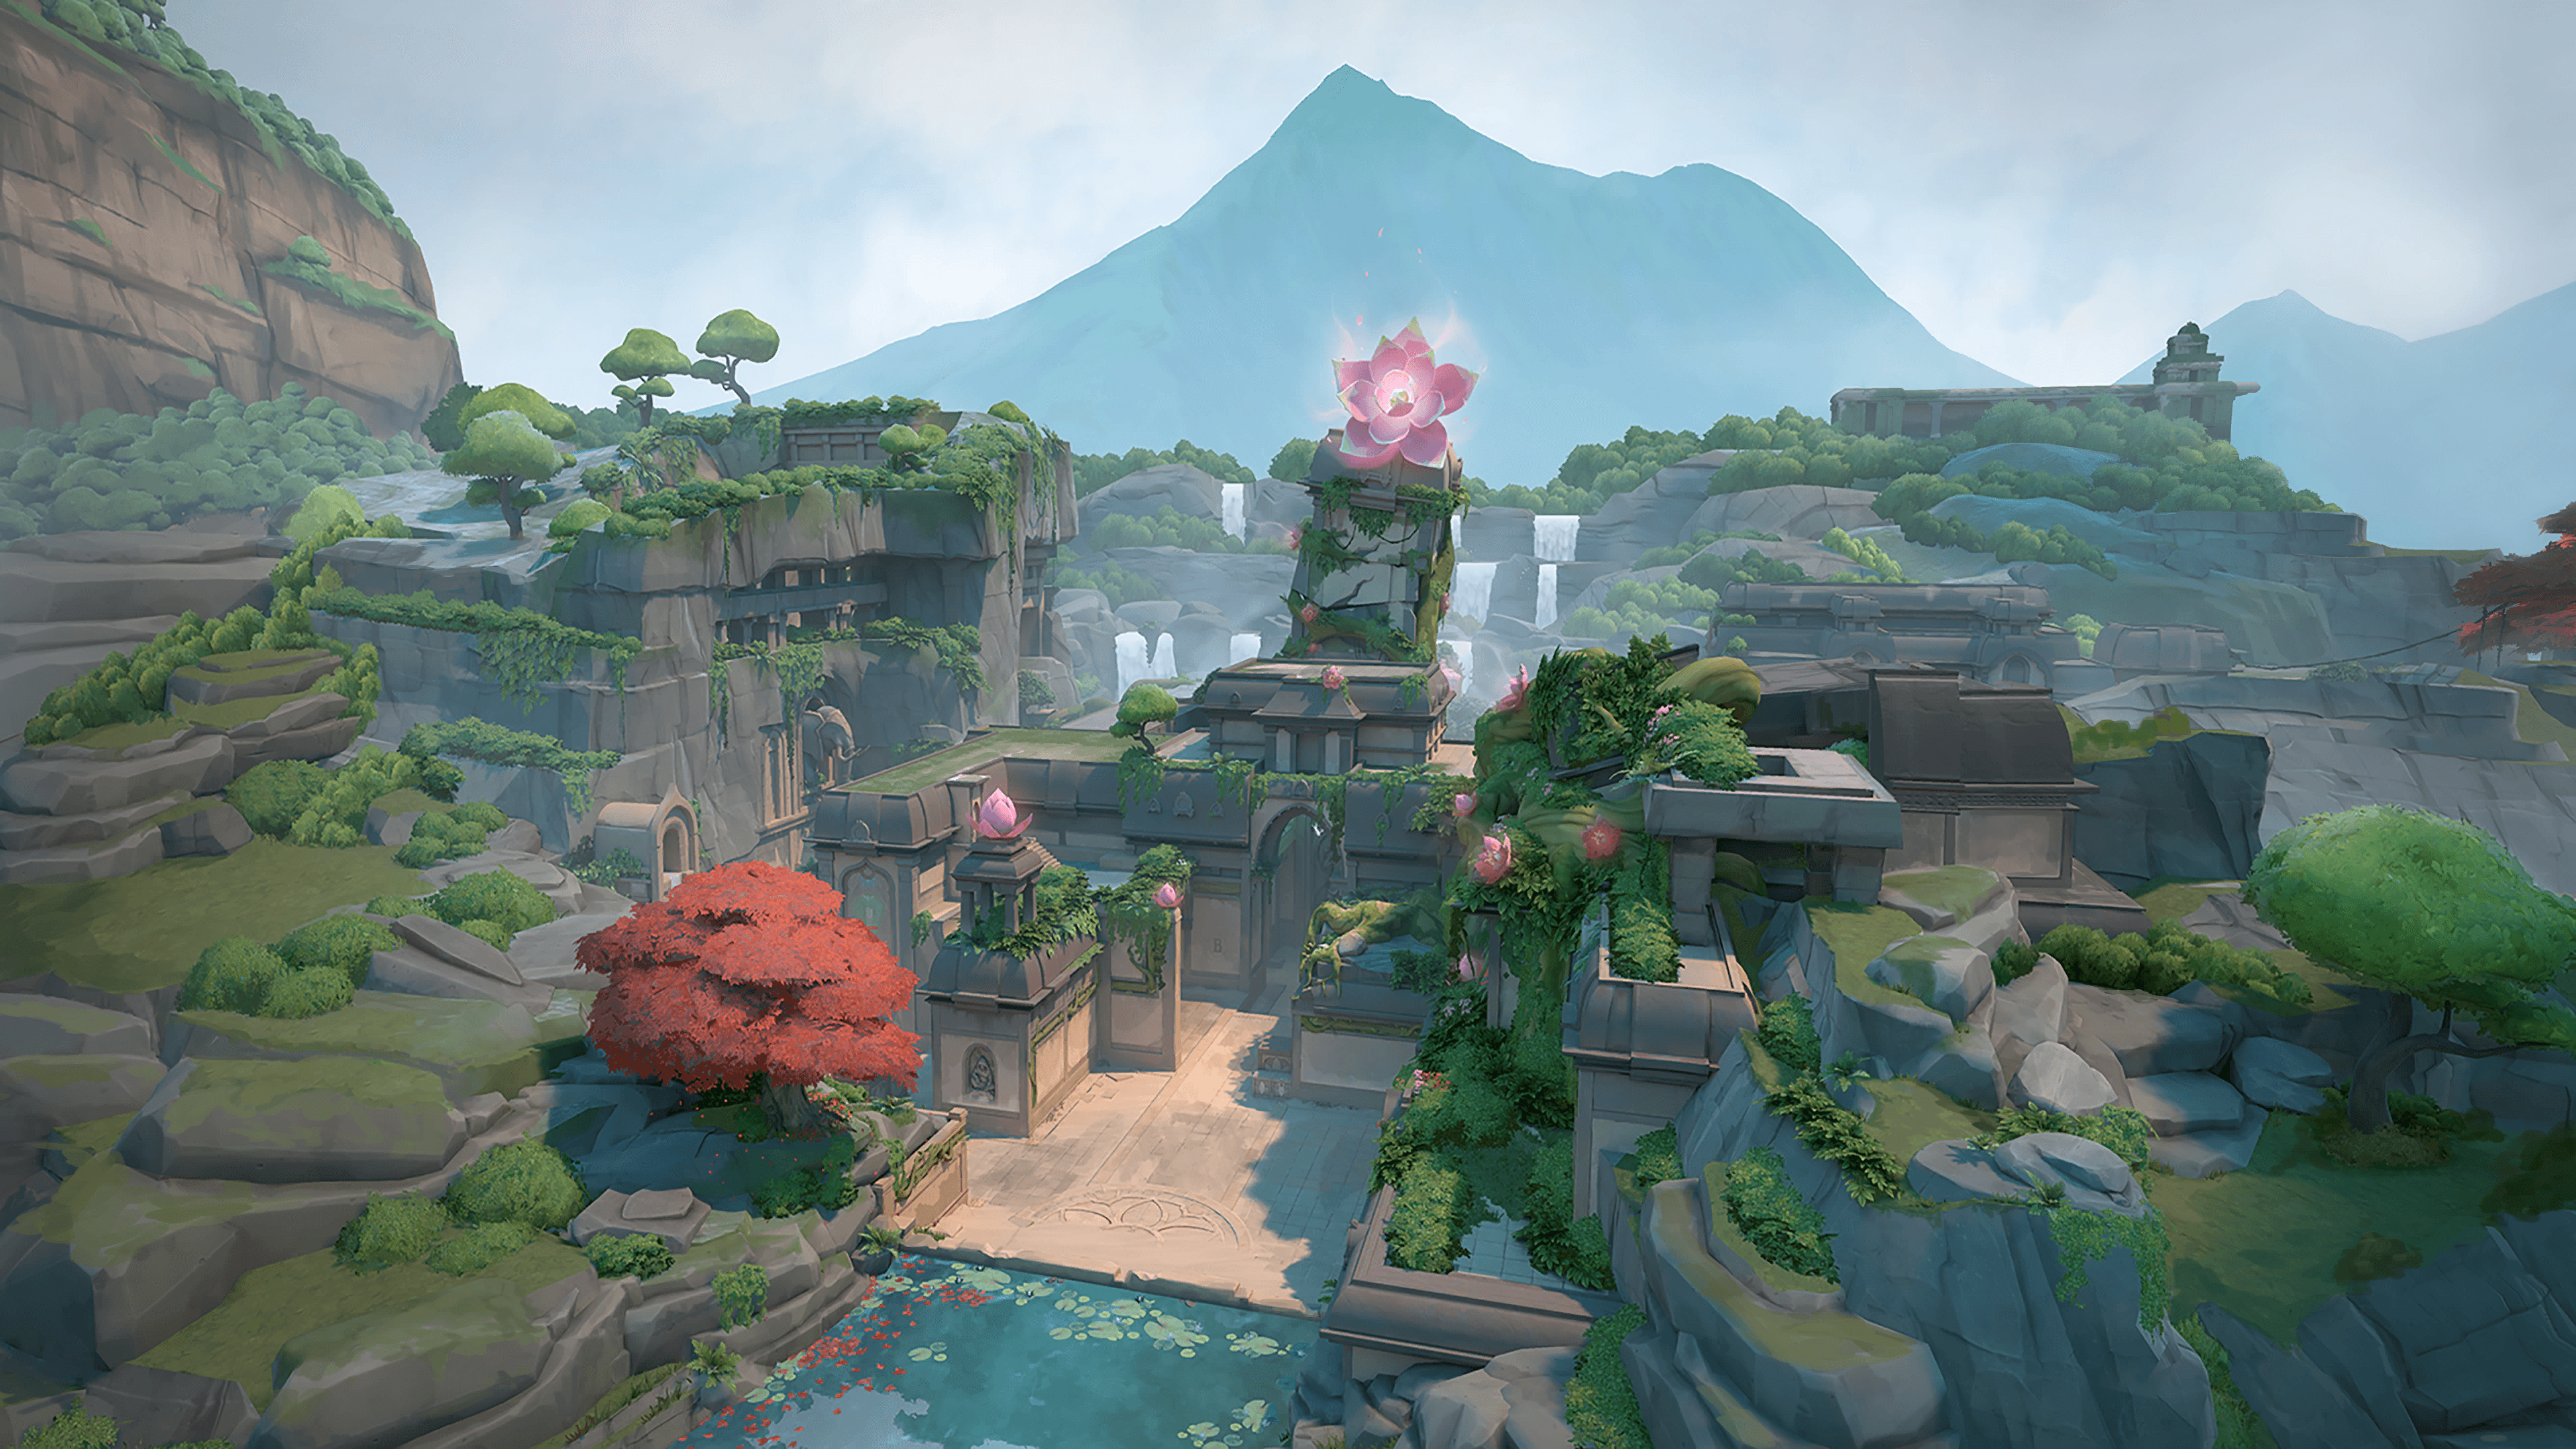
Lotus is a three-site map, A, B and C, set in a city of flowers in India. It plays with rotating doors, a breakable wall on the A side and a silent drop.
- Sites
- Site A · Site B · Site C
- Release
- January 10, 2023, patch 6.0
- Status
- Competitive pool
Callouts
The official in-game names, as your client shows them, with the English name you will often hear in voice comms.
Scroll the map to read every name.
Site A
| In-game name |
|---|
| A Top |
| A Drop |
| A Site |
| A Hut |
| A Tree |
| A Door |
| A Main |
| A Rubble |
| A Root |
| A Lobby |
| A Link |
| A Stairs |
Site B
| In-game name |
|---|
| B Pillars |
| B Main |
| B Site |
| B Upper |
Site C
| In-game name |
|---|
| C Lobby |
| C Door |
| C Waterfall |
| C Link |
| C Mound |
| C Main |
| C Bend |
| C Site |
| C Hall |
| C Gravel |
Spawns
| In-game name |
|---|
| Defender Spawn |
| Attacker Spawn |
Map layout
Lotus has three sites. A is at the top right, C on the left, B in the center. Attackers spawn at the bottom and have three routes: A Main, B Main and C Main, linked by A Lobby, B Pillars and C Lobby. Defenders spawn at the top, near B Upper. Two rotating doors speed up rotations: one between A Main and A Tree, the other between C Mound and B Main. A Link connects B to A, but a breakable wall separates it from A Main.
Key features
Rotating doors on A and C
One door links A Main to A Tree, the other C Mound to B Main. A button on each face activates it, so both sides can use it. It rotates 180 degrees over 10 seconds. The noise was reduced in patches 6.01 and 6.02, but it is still a tell.
Breakable wall between A Main and A Link
This wall has 400 HP and changes color, from blue to yellow to red, as it takes damage. Bullets don't go through it. Once destroyed, it opens a passage between A Main and A Link until the end of the round. Since 12.05, you can no longer plant against it.
Silent drop from A Top to A Drop
When you jump from A Top to A Drop, you make almost no noise as long as you don't run and don't land too far. A rope then brings players from A Site back up to A Top.
Utility damaged by the doors
According to Beebom, a rotating door destroys Alarmbots, Killjoy's Lockdown and Cypher's wires placed in its sweep. The wiki also notes that doors can push a piece of utility, like Sova's drone. Place yours away from them.
Site A
A is the biggest site: lots of room to plant, height with A Top and a silent drop to A Drop. Defenders have angles from A Stairs and A Hut. Beebom rates it as easy to execute for the attack.
Attack plan
Take control of A Main first, then smoke A Top or A Drop to isolate the defenders from the site and cut rotations from their spawn. Also smoke A Stairs before crossing from A Main to A Rubble. Then go through the door to A Tree to cross the site. Plant default, then hold A Tree and A Drop to crossfire the plant. Since patch 12.05, you can no longer plant against the breakable wall.
- 1Smoke : Smoke A Top
- 2Smoke : Smoke A Drop
- 3Smoke : Smoke A Stairs
- 4Route : Entry through A Main then the door to A Tree
- 5Plant : Default plant
- 6Hold : Post-plant from A Tree
- 7Hold : Post-plant from A Drop
Defense plan
Don't hold the whole site: keep an anchor near A Tree and something to come back from mid or A Link. Since 12.05, an extra piece in front of A Stairs lets you hold the site farther from the Rubble. Smoke A Root right after the buy phase to disrupt the exit from A Lobby, or smoke A Main to force the attack to check several angles. To retake, go through A Link and the broken wall.
- 1Hold : Hold near A Tree
- 2Hold : Hold from A Stairs
- 3Smoke : Smoke A Root
- 4Smoke : Smoke A Main to push the attack forward
- 5Route : Retake through A Link then the broken wall
Site B
B is a small site close to the attacker spawn, with narrow entries that are easy to cover. Defenders shoot from B Upper, C Link or A Link. The breakable wall at A Link gives attackers a possible flank toward B.
Attack plan
B is close to the attackers: a fast mid can surprise early in the round, but avoid pushing it alone, especially without info. Smoke C Link and B Upper first, then enter through B Main with a flash. Control of A Link matters for the post-plant, so keep a player on it. Plant default and crossfire from B Main.
- 1Smoke : Smoke C Link
- 2Smoke : Smoke B Upper
- 3Route : Entry through B Main
- 4Plant : Default plant
- 5Hold : Control A Link for the post-plant
- 6Hold : Post-plant from B Main
Defense plan
Hold B with two players: one on B Upper or C Link, another on B Main. Smoke the T-junction of B Main, or B Pillars if a teammate holds C Door. If you are alone on B Upper or C Link, smoke B Main and C Door instead. Use your traps and damage zones to slow the push. If you lose the site, retake from C Link and B Upper.
- 1Hold : Hold from B Upper
- 2Hold : Hold from C Link
- 3Smoke : Smoke the B Main junction
- 4Route : Retake from C Link
Site C
C is built around a big pillar that gives defenders good cover. The entry is a single L-shaped route from C Main and C Bend. Defenders get height from C Waterfall and C Link, which makes the site annoying to take without smokes.
Attack plan
Smoke C Waterfall and C Hall to isolate the defenders from the site and cut rotations from their teammates. Use info (Fade's Haunt, Sova's dart) before entering through C Main. A small group can go through the C Mound door to take them from behind, but the noise warns the defense. Plant default, and watch the doors so you don't get surprised in the post-plant.
- 1Smoke : Smoke C Waterfall
- 2Smoke : Smoke C Hall
- 3Route : Entry through C Main
- 4Route : Flank through the C Mound door
- 5Plant : Default plant
- 6Hold : Watch the door in the post-plant
Defense plan
Put a player toward C Waterfall or C Link to get height on C Main. Place utility near C Mound to punish anyone coming through the door. At the start of the round, you can smoke C Lobby to greet attackers coming that way; if pushed back, smoke C Main to cut the view to the site. To retake, use the door too.
- 1Hold : Hold from C Waterfall
- 2Hold : Hold from C Link
- 3Smoke : Smoke C Lobby at the start of the round
- 4Smoke : Smoke C Main if you are pushed back
- 5Route : Retake through the C Door
Agent setups
The placements top guides recommend on this map, ability by ability.
 Killjoy
All Killjoy setupsKilljoy A: Alarmbot near the plant, Nanoswarms and Turret under A Top
Defense · Site A- 1
 ALARMBOT : Alarmbot near the default plant box, it covers the whole site
 - 2
 Nanoswarm : Nanoswarm next to the default plant: it hits rushers
 - 3Nanoswarm : Second Nanoswarm next to the Alarmbot, to punish those entering together
- 4
 TURRET : Turret at the foot of A Top, near the rope: a smoke on A Top doesn't cut its view
Killjoy B: Turret in A Link, Alarmbot on B Main
Defense · Site B- 1TURRET : Turret in A Link: it sees A Link and the B entrance
- 2ALARMBOT : Alarmbot at the center of the B Main entrance, site side, between the two Nanoswarms
- 3Nanoswarm : First Nanoswarm on the ledge of the B Main entrance wall
- 4Nanoswarm : Second Nanoswarm next to the Alarmbot, to throw when it rings
Killjoy C: Alarmbot at the entrance, Turret on the big box
Defense · Site C- 1ALARMBOT : Alarmbot at the edge of the site entrance, it sees both corners
- 2Nanoswarm : Nanoswarm near the Alarmbot, to punish a fast entry (Jett, Raze)
- 3Nanoswarm : Second Nanoswarm on the ledge at the back, thrown at the peak of your jump
- 4TURRET : Turret on the big box at the back of the site, hard to reach
 Cypher
All Cypher setupsCypher A: wire on A Tree, Cyber Cage to hide yourself
Defense · Site A- 1
 Trapwire : Trapwire across the A Tree entrance
 - 2
 Cyber Cage : Cyber Cage behind the wire to hide your position
 - 3
 Spycam : You play from the back of the site, the rope behind you as a fallback
Cypher B: wires on the B Main entrance and on A Link
Defense · Site B- 1Trapwire : Wire at the edge of the B Main entrance wall, visible from B Upper
- 2Trapwire : Wire in B, as close as possible to A Link
- 3Cyber Cage : Cyber Cage in the site to hide yourself after the detection
Cypher C: wire at the entrance and wire on the C Waterfall lane
Defense · Site C- 1Trapwire : Wire on the C entrance
- 2Trapwire : Wire in the narrow C Waterfall lane
- 3Cyber Cage : Cyber Cage on the entrance to hide your position while shooting
- 4Spycam : You hold from C Waterfall or the back of the site
Sample comp
 OmenControllerFlexible Controller: rechargeable smokes on narrow entries and a teleport for a surprise angle.
 ViperControllerHer wall splits a site in two and denies the attack info or the defense a retake, according to hotspawn.
 FadeInitiatorCited as the best Initiator on the map (hotspawn), with Haunt for info.
 RazeDuelistDuelist useful for duels around A Rubble and the map's tight angles.
 VyseSentinelSentinel picked by the source to hold C, with her Razorvine and Arc Rose that slow down entries.
The five agents come from hotspawn (published August 5, 2025, titled 2026). dodge.gg (March 21, 2026) also recommends Raze, Fade, Omen and Viper, but not Vyse.
Lotus tips
- Don't break the A wall out of reflex: it opens a line of sight, but it also gives you one more angle to hold. Decide before the execute whether it helps your plan.
- A rotating door makes noise. Fake with it, then take the other site: the sound gives the defense info, don't ignore it.
- Keep your crosshair at head height on tight angles (B Main, A Tree, the L-shaped C entry): duels there happen at close range, one accurate shot is enough.
- Don't place Lockdown, Alarmbot or wires in a door's sweep: guides say it destroys them.
- On defense, smoke early: A Root right after the buy phase, C Lobby at the start of the round. You disrupt the attack before it sets up.
- Call rotations fast: the doors speed them up, but they also reveal them.
Other maps
 AbyssCompetitive poolSite A · Site BAbyss is a two-site map with three lanes and no boundary walls: falling into the void kills instantly. It has been in the competitive queue since patch 13.04, in August 2026.4 setups
 BindCompetitive poolSite A · Site BBind has two sites, A and B, and no mid: two one-way teleporters link the sides. It is back in the competitive queue since patch 13.08.4 setups
 CorrodeCompetitive poolSite A · Site BCorrode is a two-site, three-lane map in a medieval fortress, with a long, narrow mid. It has been in the competitive queue since patch 11.00 and came back in 13.08.4 setups
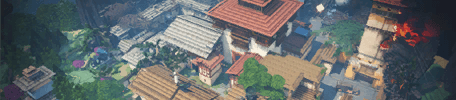 HavenCompetitive poolSite A · Site B · Site CHaven is the three-site map: A at the top of the minimap, B in the middle, C at the bottom. Attackers start from the east and pick a target, while defenders have to cover everything.4 setups
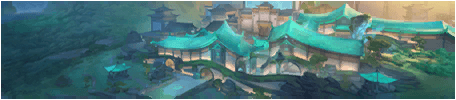 SummitCompetitive poolSite A · Site BSummit is a two-site map with three lanes, set in a Radiant academy in the mountains. Three reactive walls close during the round and change the rotations.
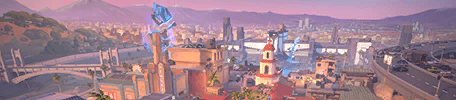 SunsetCompetitive poolSite A · Site BSunset is a classic two-site, three-lane map set in Los Angeles. Mid is wide and links the two sites through connectors: whoever holds it sets the pace of the round.5 setups
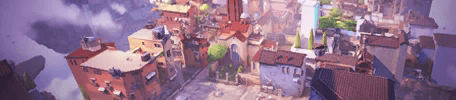 AscentOut of the competitive poolSite A · Site BAscent is a two-site map inspired by Venice, with a big open mid linking the two sites. It left the competitive queue in patch 13.08.4 setups
 BreezeOut of the competitive poolSite A · Site BBreeze is a two-site map on an island. Largely rebuilt at patch 12.00, it left the competitive queue at patch 13.04: be wary of guides from before January 2026.
 FractureOut of the competitive poolSite A · Site BFracture is a two-site map where attackers start at opposite ends, linked by a zipline, against defenders in the center. It left the competitive queue at patch 13.00.4 setups
 IceboxOut of the competitive poolSite A · Site BIcebox is a two-site map set in a frozen worksite: lots of height, stacked containers, a zipline at A and a mid split by the tube and the boiler.4 setups
 PearlOut of the competitive poolSite A · Site BPearl is a two-site map set in an underwater city, with no ropes and no teleporters. It left the competitive queue at patch 13.00.
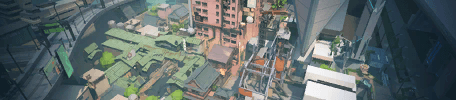 SplitOut of the competitive poolSite A · Site BSplit is a two-site map, A at the top and B at the bottom, linked by a mid. Narrow, full of high ground and ropes, it has a reputation for favoring defense.
A plan won't aim for you: measure your aim.
Sources
- playvalorant.com (opens in a new tab)
- wiki.playvalorant.com (opens in a new tab)
- prosettings.net (opens in a new tab)
- dodge.gg (opens in a new tab)
- oneesports.gg (opens in a new tab)
- beebom.com (opens in a new tab)
- gamefreaks365.com (opens in a new tab)
- playerassist.com (opens in a new tab)
- hotspawn.com (opens in a new tab)
- metabot.gg (opens in a new tab)
- playvalorant.com (2) (opens in a new tab)
- playerassist.com (2) (opens in a new tab)
Updated on October 15, 2026
Patch 13.08 data. Map names, callouts and minimaps: Riot Games, via valorant-api.com.