Competitive pool
Abyss: callouts, site plans and setups
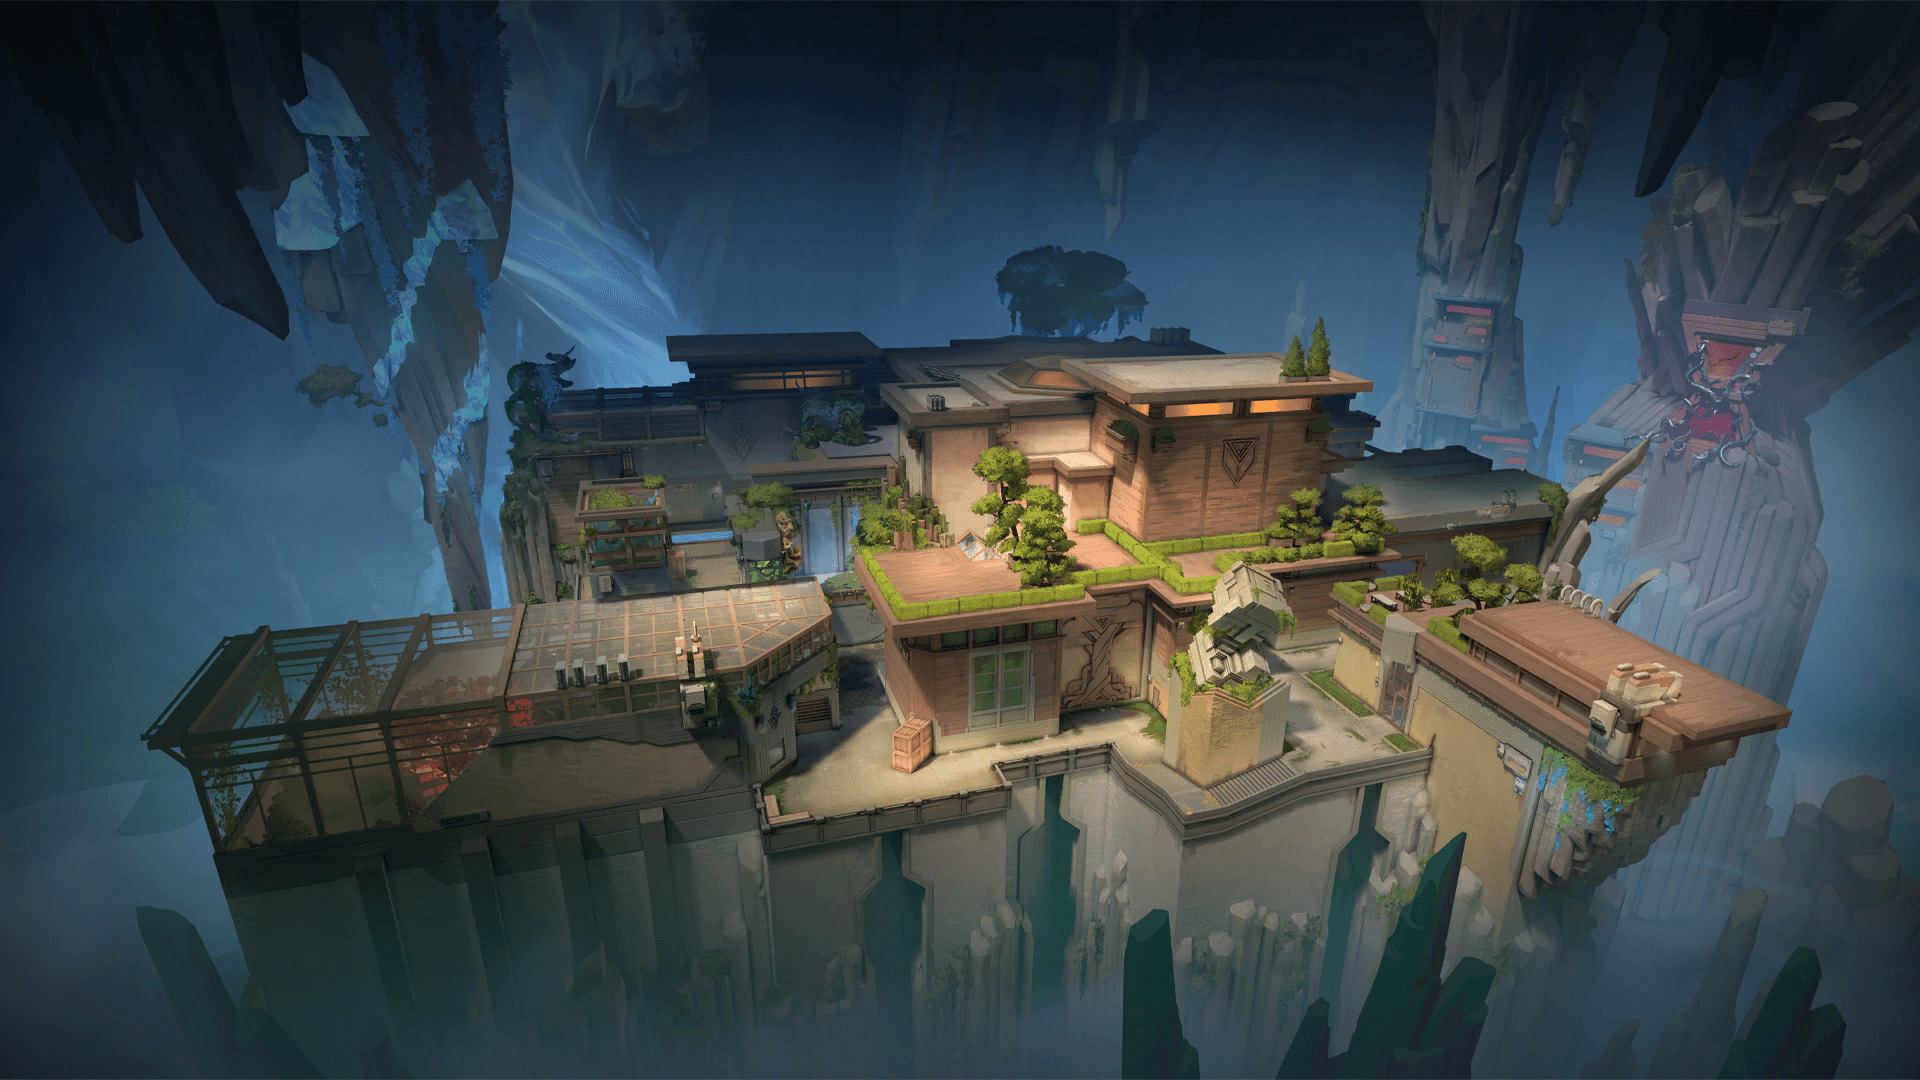
Abyss is a two-site map with three lanes and no boundary walls: falling into the void kills instantly. It has been in the competitive queue since patch 13.04, in August 2026.
- Sites
- Site A · Site B
- Release
- June 11, 2024, patch 8.11
- Status
- Competitive pool
Callouts
The official in-game names, as your client shows them, with the English name you will often hear in voice comms.
Scroll the map to read every name.
Site A
| In-game name |
|---|
| A Bridge |
| A Link |
| A Lobby |
| A Main |
| A Site |
| A Tower |
| A Secret |
| A Security |
| A Vent |
Site B
| In-game name |
|---|
| B Link |
| B Lobby |
| B Main |
| B Nest |
| B Site |
| B Danger |
| B Tower |
Mid
| In-game name |
|---|
| Mid Bend |
| Mid Bottom |
| Mid Catwalk |
| Mid Library |
| Mid Top |
Spawns
| In-game name |
|---|
| Attacker Spawn |
| Defender Spawn |
Map layout
Abyss has two sites, A at the top of the minimap and B at the bottom, linked by three lanes. The attack comes from the right. A has only one main entry, A Main, and B has only one as well, B Main, with a possible flank through B Danger, the ledge at the back. Mid is wide and split into two lanes by a big void: Mid Bottom joins B Main, Mid Catwalk leads to the breakable vent doors, then to A Tower, above A. Mid Library opens onto B from behind, through B Link, which also touches the defender spawn. Rotations are long: a lost mid lets attackers pick their site, and a well-placed setup buys the time reinforcements need. The mid and B corridors are long and tense, which suits long-range weapons like the Operator.
Key features
No walls around the map
Abyss is the first Valorant map with no invisible boundary. At the edge, one step too far or an ability knockback throws you into the void: instant death. Watch your positioning and your allies when you use a knockback.
Danger and Secret ledges
B Danger and A Secret are narrow ledges at the edge of the map. Some passages require jumping over a gap, which offers shortcuts and flanks, but also traps: a wire or a slow placed at the edge can make an opponent fall.
Three vertical lifts
An ascender links A Site to A Tower, another links B Main to Mid Bend, and a third is in the attacker spawn. Mid Catwalk is reached by jumping a gap from Mid Top or Mid Library, then taking an ascender.
Breakable vent doors
The A Vent entrances have doors that take 120 HP. They go from blue to yellow to red as they take damage, and once broken, they stay open until the end of the round.
Site A
A is a compact site on the top of the map. Attackers come in through A Main, wide and to the east, while A Tower overlooks the site from the south, with an ascender to get up there. Behind, the area players call A Back Site works as a defensive position. A Secret, a floating ledge behind the site, touches the defender spawn.
Attack plan
Start by destroying the sentinels' traps before entering: Shock Bolt, Aftershock or any ability that hits wires and swarms. A Main is wide enough to push with five, but a three-two split works too: two players go through the vents to surprise the defense. Plant in the A zone, then take position on A Tower, a good post-plant spot according to esports.net.
- 1Info : Destroy wires and swarms before entering
- 2Route : Entry through A Main
- 3Route : Path through the vents to A Tower
- 4Plant : Plant in the A zone
- 5Hold : Post-plant from A Tower
Defense plan
Hold A Tower, from up high, to force attackers to deal with your position before entering the site. Put a Nanoswarm on each side of the A Main entrance to make them fall back or go through your zone together. Keep info on mid, for example a camera on Mid Library, to spot a lurk. To retake the site, come up through A Link, A Tower, then the site.
- 1Hold : Hold from A Tower
- 2Hold : Hold from A Back Site
- 3Molly : Nanoswarm on the left side of the entrance
- 4Molly : Nanoswarm on the right side of the entrance
- 5Info : Info on mid, Mid Library
- 6Route : Retake through A Link and A Tower
Site B
B is the site at the bottom of the map. The main entry is B Main, to the east, and the B Danger flank, on the ledge at the back, reaches the site with the risk of falling. B Tower, to the west, overlooks the site, and B Link connects B to the defender spawn and Mid Library.
Attack plan
Prepare the entry with flashes or a recon dart (Sova) to spot the defenders. Then launch a focused attack: one player goes through B Danger while the others enter through B Main. Two players can also go through mid to hit the rotations. Sentinels on the other side can make you fall on B Danger: check the floor before you commit.
- 1Info : Recon dart before the entry
- 2Route : Entry through B Main
- 3Route : Flank through B Danger
- 4Route : Two players through mid
- 5Plant : Plant in the B zone
Defense plan
Hold B from B Tower, which has a view of the site, and keep an eye on B Link for flanks coming from Mid Bottom. The wide, long corridors suit the Operator. Put a Nanoswarm on the plant zone to delay the spike, and an Alarmbot behind the B Danger pillar. To retake B, go through B Link and B Tower.
- 1Hold : Hold from B Tower
- 2Hold : Watch B Link and the mid flank
- 3Molly : Nanoswarm on the plant zone
- 4Info : Alarmbot behind the B Danger pillar
- 5Route : Retake through B Link and B Tower
Agent setups
The placements top guides recommend on this map, ability by ability.
 Killjoy
All Killjoy setupsKilljoy A: Turret on A Tower, Nanoswarms on the entrance, Alarmbot at the ascender
Defense · Site A- 1
 TURRET : Turret on A Tower, facing A Main
 - 2
 Nanoswarm : Nanoswarm on the left side of the entrance (variant: on the crate to the left)
 - 3Nanoswarm : Nanoswarm on the right side of the entrance
- 4
 ALARMBOT : Alarmbot at the arrival of the A Tower ascender
Killjoy B: Turret on B Tower, Alarmbot at B Danger, Nanoswarm on the plant
Defense · Site B- 1TURRET : Turret on B Tower, watching B Main
- 2ALARMBOT : Alarmbot behind the B Danger pillar
- 3Nanoswarm : Nanoswarm on the B plant zone, to delay the spike
 Cypher
All Cypher setupsCypher A: wire across A Main, second wire at A Tower, camera on A Main
Defense · Site A- 1
 Trapwire : Wire across A Main, at head height
 - 2Trapwire : Wire at the A Tower ascender exit
- 3
 Spycam : Spycam on A Main, to play the retake from A Back Site
Cypher B: wire on B Danger, camera on B Tower, Cyber Cage on B Main
Defense · Site B- 1Trapwire : Vertical wire at B Danger, near the edge
- 2Spycam : Spycam on B Tower
- 3
 Cyber Cage : Cyber Cage on B Main to cut the rush
Abyss tips
- In Mid Library and Mid Catwalk, the sight lines are long and narrow: keep your crosshair at head height on the end of the corridor and throw a flash or a stun before leaving the corner.
- Near the edges, don't use any knockback or slow ability without a warning: a Gravity Well, a Blast Pack or a Rolling Thunder can send a teammate into the void.
- Jumps over the Danger and Secret gaps can be made silently by crouching at the right moment: use them for a quiet rotation, thinking about the possible wire or swarm on the other side.
- Many of Abyss's walls can be shot through: a burst on a thin panel can hit a hidden opponent, and Sova or Fade make use of it.
- Losing mid early lets attackers pick the site. Keep at least one source of info (camera, Turret, player) on Mid Library or Mid Catwalk before you settle on a site.
Other maps
 BindCompetitive poolSite A · Site BBind has two sites, A and B, and no mid: two one-way teleporters link the sides. It is back in the competitive queue since patch 13.08.4 setups
 CorrodeCompetitive poolSite A · Site BCorrode is a two-site, three-lane map in a medieval fortress, with a long, narrow mid. It has been in the competitive queue since patch 11.00 and came back in 13.08.4 setups
 HavenCompetitive poolSite A · Site B · Site CHaven is the three-site map: A at the top of the minimap, B in the middle, C at the bottom. Attackers start from the east and pick a target, while defenders have to cover everything.4 setups
 LotusCompetitive poolSite A · Site B · Site CLotus is a three-site map, A, B and C, set in a city of flowers in India. It plays with rotating doors, a breakable wall on the A side and a silent drop.6 setups
 SummitCompetitive poolSite A · Site BSummit is a two-site map with three lanes, set in a Radiant academy in the mountains. Three reactive walls close during the round and change the rotations.
 SunsetCompetitive poolSite A · Site BSunset is a classic two-site, three-lane map set in Los Angeles. Mid is wide and links the two sites through connectors: whoever holds it sets the pace of the round.5 setups
 AscentOut of the competitive poolSite A · Site BAscent is a two-site map inspired by Venice, with a big open mid linking the two sites. It left the competitive queue in patch 13.08.4 setups
 BreezeOut of the competitive poolSite A · Site BBreeze is a two-site map on an island. Largely rebuilt at patch 12.00, it left the competitive queue at patch 13.04: be wary of guides from before January 2026.
 FractureOut of the competitive poolSite A · Site BFracture is a two-site map where attackers start at opposite ends, linked by a zipline, against defenders in the center. It left the competitive queue at patch 13.00.4 setups
 IceboxOut of the competitive poolSite A · Site BIcebox is a two-site map set in a frozen worksite: lots of height, stacked containers, a zipline at A and a mid split by the tube and the boiler.4 setups
 PearlOut of the competitive poolSite A · Site BPearl is a two-site map set in an underwater city, with no ropes and no teleporters. It left the competitive queue at patch 13.00.
 SplitOut of the competitive poolSite A · Site BSplit is a two-site map, A at the top and B at the bottom, linked by a mid. Narrow, full of high ground and ropes, it has a reputation for favoring defense.
A plan won't aim for you: measure your aim.
Sources
- playvalorant.com (opens in a new tab)
- playvalorant.com (2) (opens in a new tab)
- prosettings.net (opens in a new tab)
- esports.net (opens in a new tab)
- sportskeeda.com (opens in a new tab)
- sportskeeda.com (2) (opens in a new tab)
- sportskeeda.com (3) (opens in a new tab)
- thespike.gg (opens in a new tab)
- beebom.com (opens in a new tab)
- immortalboost.com (opens in a new tab)
- wiki.playvalorant.com (opens in a new tab)
- playvalorant.com (3) (opens in a new tab)
Updated on October 15, 2026
Patch 13.08 data. Map names, callouts and minimaps: Riot Games, via valorant-api.com.