Skip to content

Sentinel

Killjoy: abilities and tips

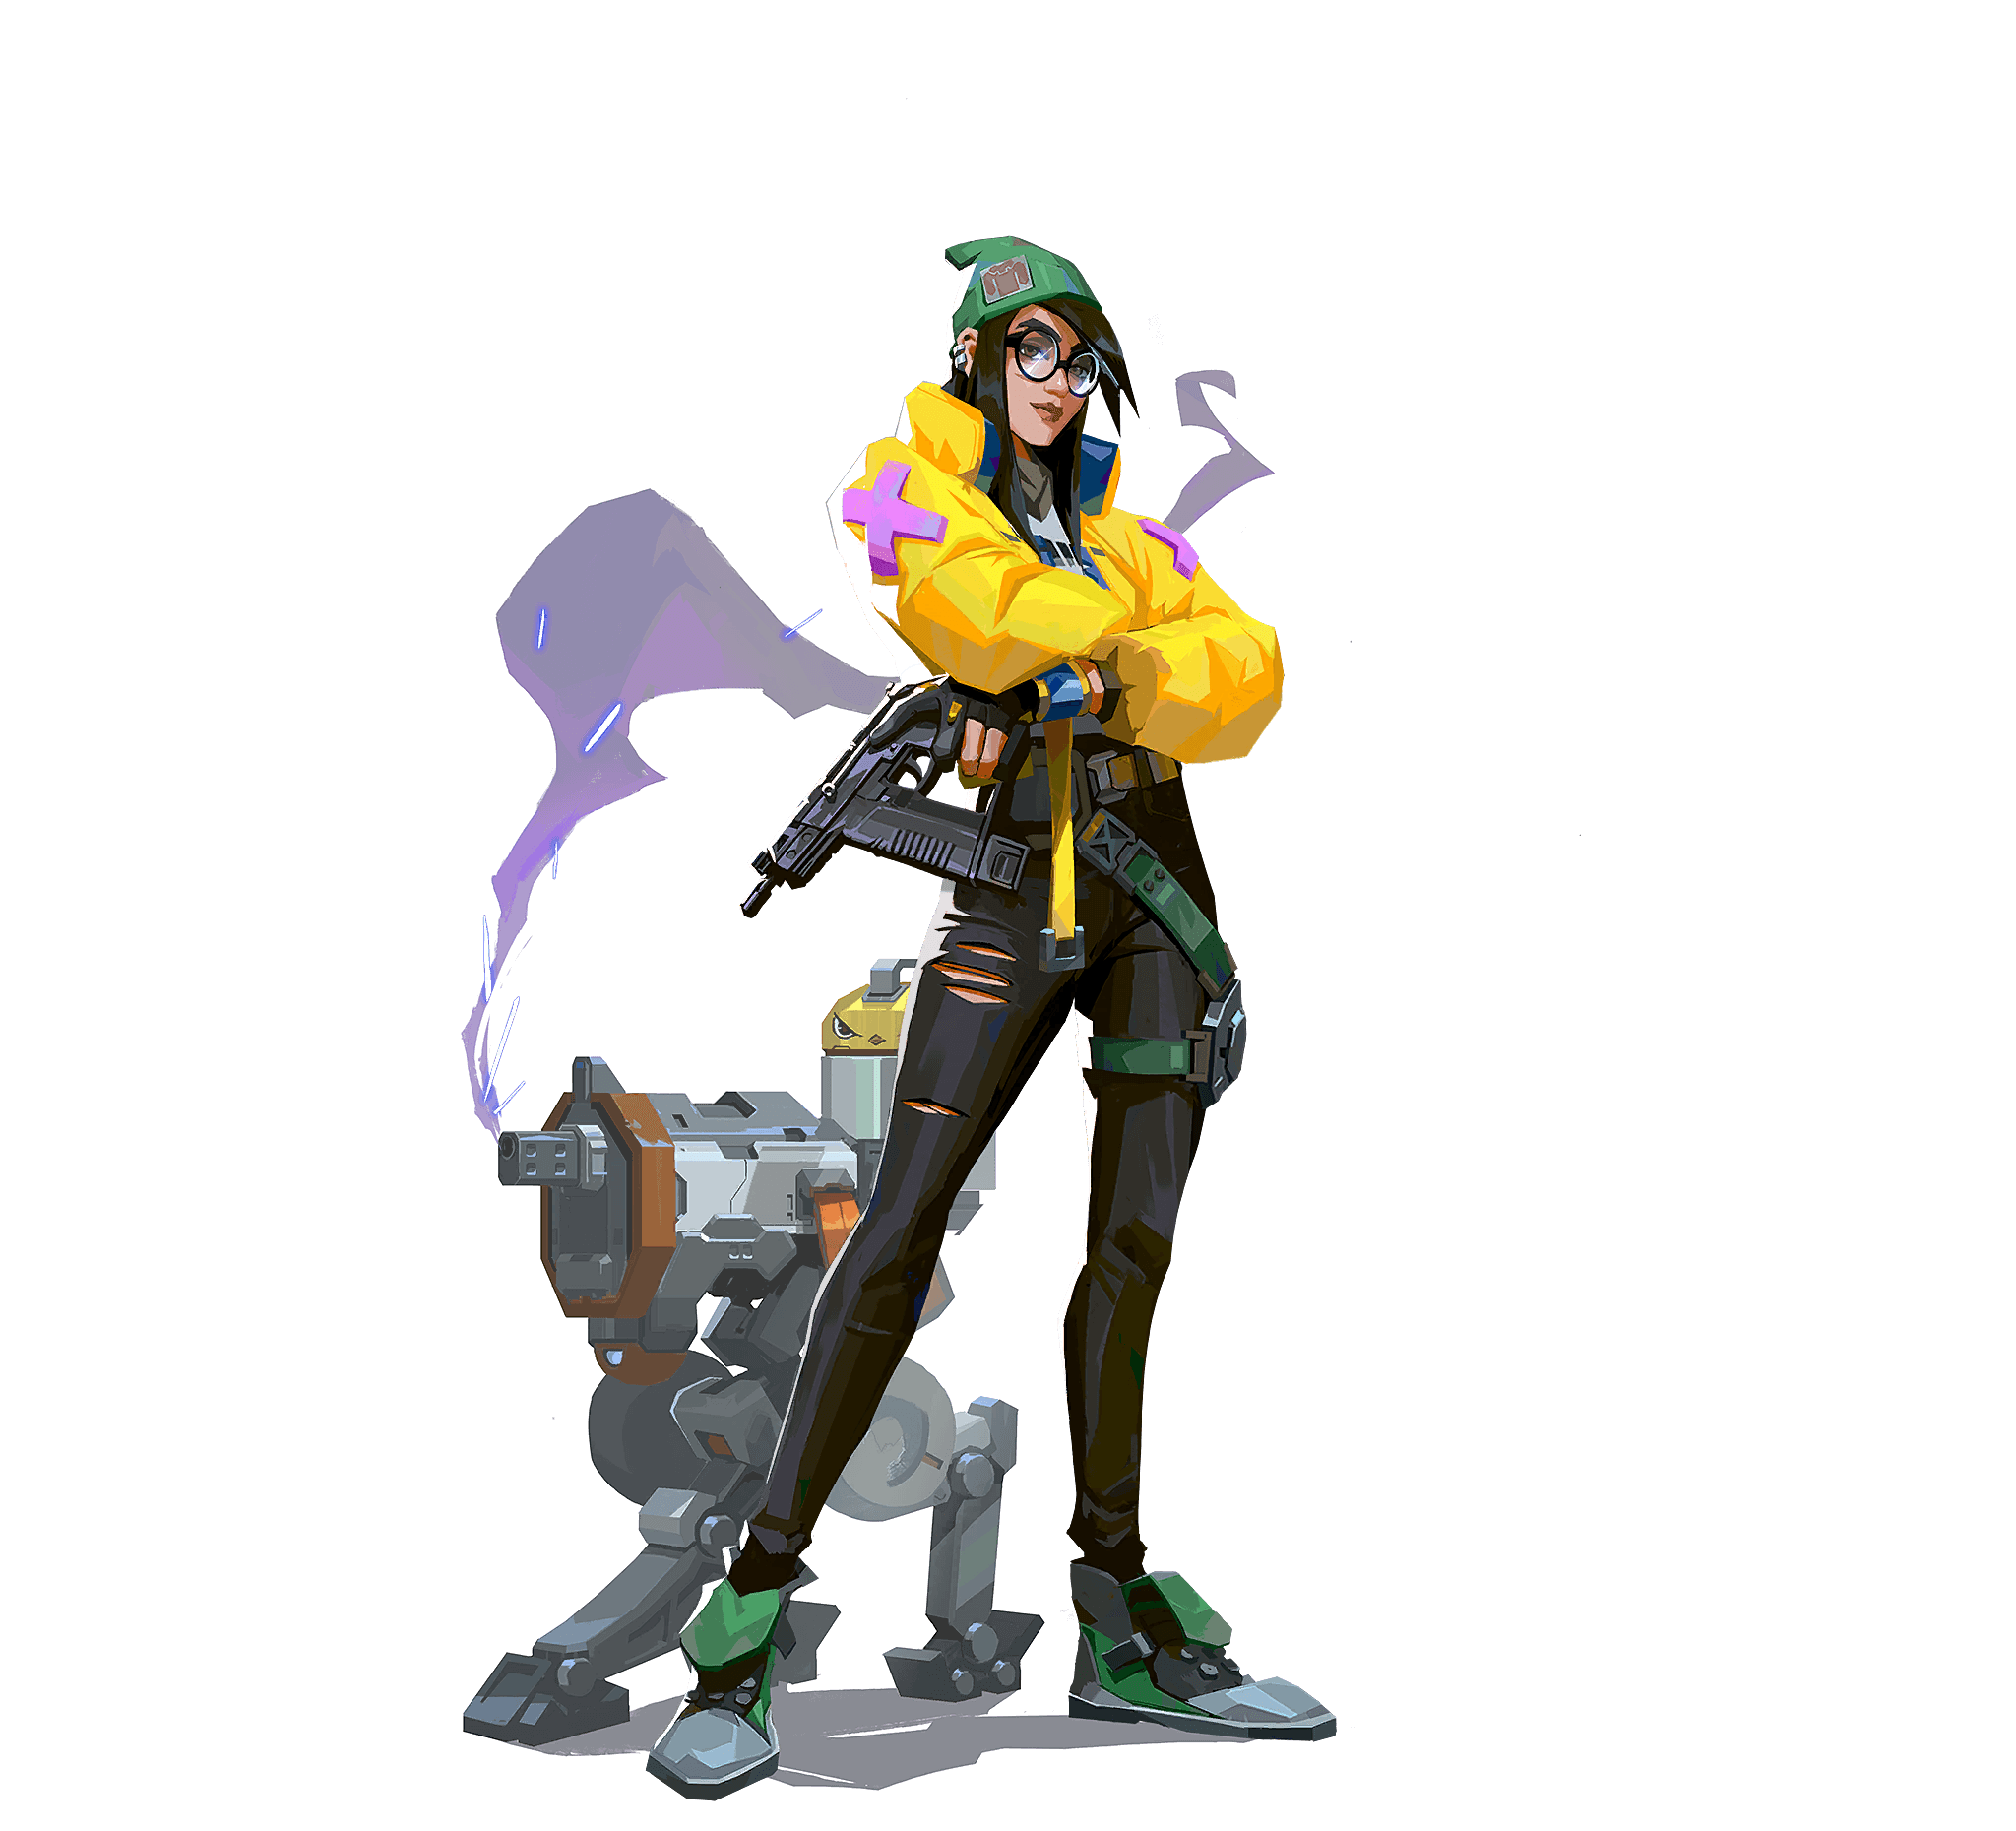
Killjoy is a German inventor and area Sentinel: a turret, an alarm bot and a Nanoswarm lock down a site and punish the enemies who commit to it.

Origin
Germany
Release
August 4, 2020, patch 1.05
Killjoy

Playstyle

Killjoy is played like an architect. You set up the Turret and the Alarmbot on the accesses to be warned and deal damage without being exposed, and you save the Nanoswarm to punish those who advance or to lock down the Spike after the plant. On defense, your gear blocks a site while you take your own angle. On attack, your Nanoswarm under the Spike makes the defuse dangerous. Your gear shuts down if you move more than 40 m away, so you stay close. Players who know your placements destroy them, so you need to vary.

Abilities

Key CBasic

Nanoswarm

200 credits · 2 charges

You throw a grenade that camouflages on the ground. You trigger it when enemies are close: it releases a swarm that deals continuous damage. The Nanoswarm is used to punish a push or to lock down the Spike after the plant.

Key numbers

  • Swarm duration: 5 s (4 s before patch 13.00)
  • Damage: 45 per second
  • Grenade health: 20
  • Hide the grenade in a spot that is not obvious, for example under the Spike or near a defuse corner, and trigger it when the enemy gets close.
  • After an Alarmbot that makes them vulnerable, trigger the Nanoswarm: the enemy takes much more damage.
Key QBasic

ALARMBOT

200 credits · 1 charge

You deploy a camouflaged bot that hunts enemies within its range. It explodes on contact and applies the Vulnerable status, which increases the damage they take. You can recall it to place it elsewhere, with a 20 second recharge.

Key numbers

  • Vulnerable status: 4 s
  • Bot health: 20
  • Recharge after recall: 20 s
  • Deactivates more than 40 m from Killjoy
  • Place the bot where the enemy has to pass, then hold your angle: the Vulnerable status makes your shots deadlier.
  • Recall it before changing sites: the recharge is 20 s, much cheaper than buying it again.
Key ESignature

TURRET

1 free charge per round · 1 charge · Cooldown: 60 s

You place a turret that fires in bursts of three at any enemy in its 100 degree cone. Its damage drops with distance. You can recall it or rotate it with alternate fire. It comes back in 60 seconds if destroyed.

Key numbers

  • Recharge if destroyed: 60 s
  • Recharge if recalled: 20 s
  • HP: 100; field of view: 100 degrees
  • Damage per shot: 8 up to 20 m, 6 from 20 to 35 m, 4 beyond (bursts of 3)
  • Deactivates more than 40 m from Killjoy
  • Aim the turret at an access you can also watch: the enemy who destroys it ends up in your line of fire.
  • Rotate it by aiming with alternate fire rather than recalling it if the attack changes direction.
Key XUltimate

Lockdown

9 ultimate points

You place a lockdown device. After a long delay, it detains every enemy in the zone. It can be destroyed before it activates. You use it to force a site, delay a retake or close off a path.

Key numbers

  • Delay before activation: 13 s
  • Detain: 8 s
  • Device health: 200
  • Place the device out of the opponent's sight: it has 200 HP and an enemy who spots it destroys it before activation.
  • In a post-plant, place it far from the Spike: a detained enemy cannot defuse.

Strengths

  • The Turret and the Alarmbot give information and damage without you being exposed, which helps you hold a site with few players.
  • Vulnerable increases the damage taken: an enemy hit by the Alarmbot dies much faster under your shots or your team's.
  • The Nanoswarm under the Spike locks down the defuse and gives a very strong post-plant.
  • Lockdown forces a site to be cleared or opens a retake without a duel.

Weaknesses

  • Your gear shuts down beyond 40 m, so your rotations are costly and you have to stay near your site.
  • Turret, Alarmbot and Nanoswarm can be destroyed: a player who knows your placements breaks them with no effort.
  • She depends on precise placements: without preparation, her kit is worth little and fast rushes catch her.
  • Lockdown has a long activation delay and can be destroyed if it is visible.

Tips

  1. Vary your placements from one round to the next: an enemy who knows a turret or a bot destroys them without losing health.
  2. On a partial eco, take the Nanoswarm before the Alarmbot: it serves as well to defend as to lock down a Spike.
  3. Stay within 40 m of your gear: beyond that, the Turret and Alarmbot shut down.
  4. On attack, place the Nanoswarm on the Spike as soon as you plant and hold an angle with the rest of the team.
  5. Take your duels after a shot from the Turret or the alarm: you know where the enemy is, and your counter-strafe has to be clean to land the first bullet.

The aim to train

The Road2Radiant benchmark subcategories that matter most here.

  • Static

    Clicking on static targets

    Killjoy holds angles and finishes duels after a signal from her gear: flicks on fixed targets matter more than tracking.

    Drills to improve
  • Strafe Click

    Clicking while strafing

    She peeks after the Turret or the alarm: a click right after a lateral move decides the duel without overexposing you.

    Drills to improve
Measure these skills with the benchmark

Synergies

Other agents in this role

Train the aim Killjoy needs

Sources

Updated on October 13, 2026

Data from patch 13.06. Names, art and weapon stats: Riot Games, via valorant-api.com.