Skip to content

Sentinel

Deadlock: abilities and tips

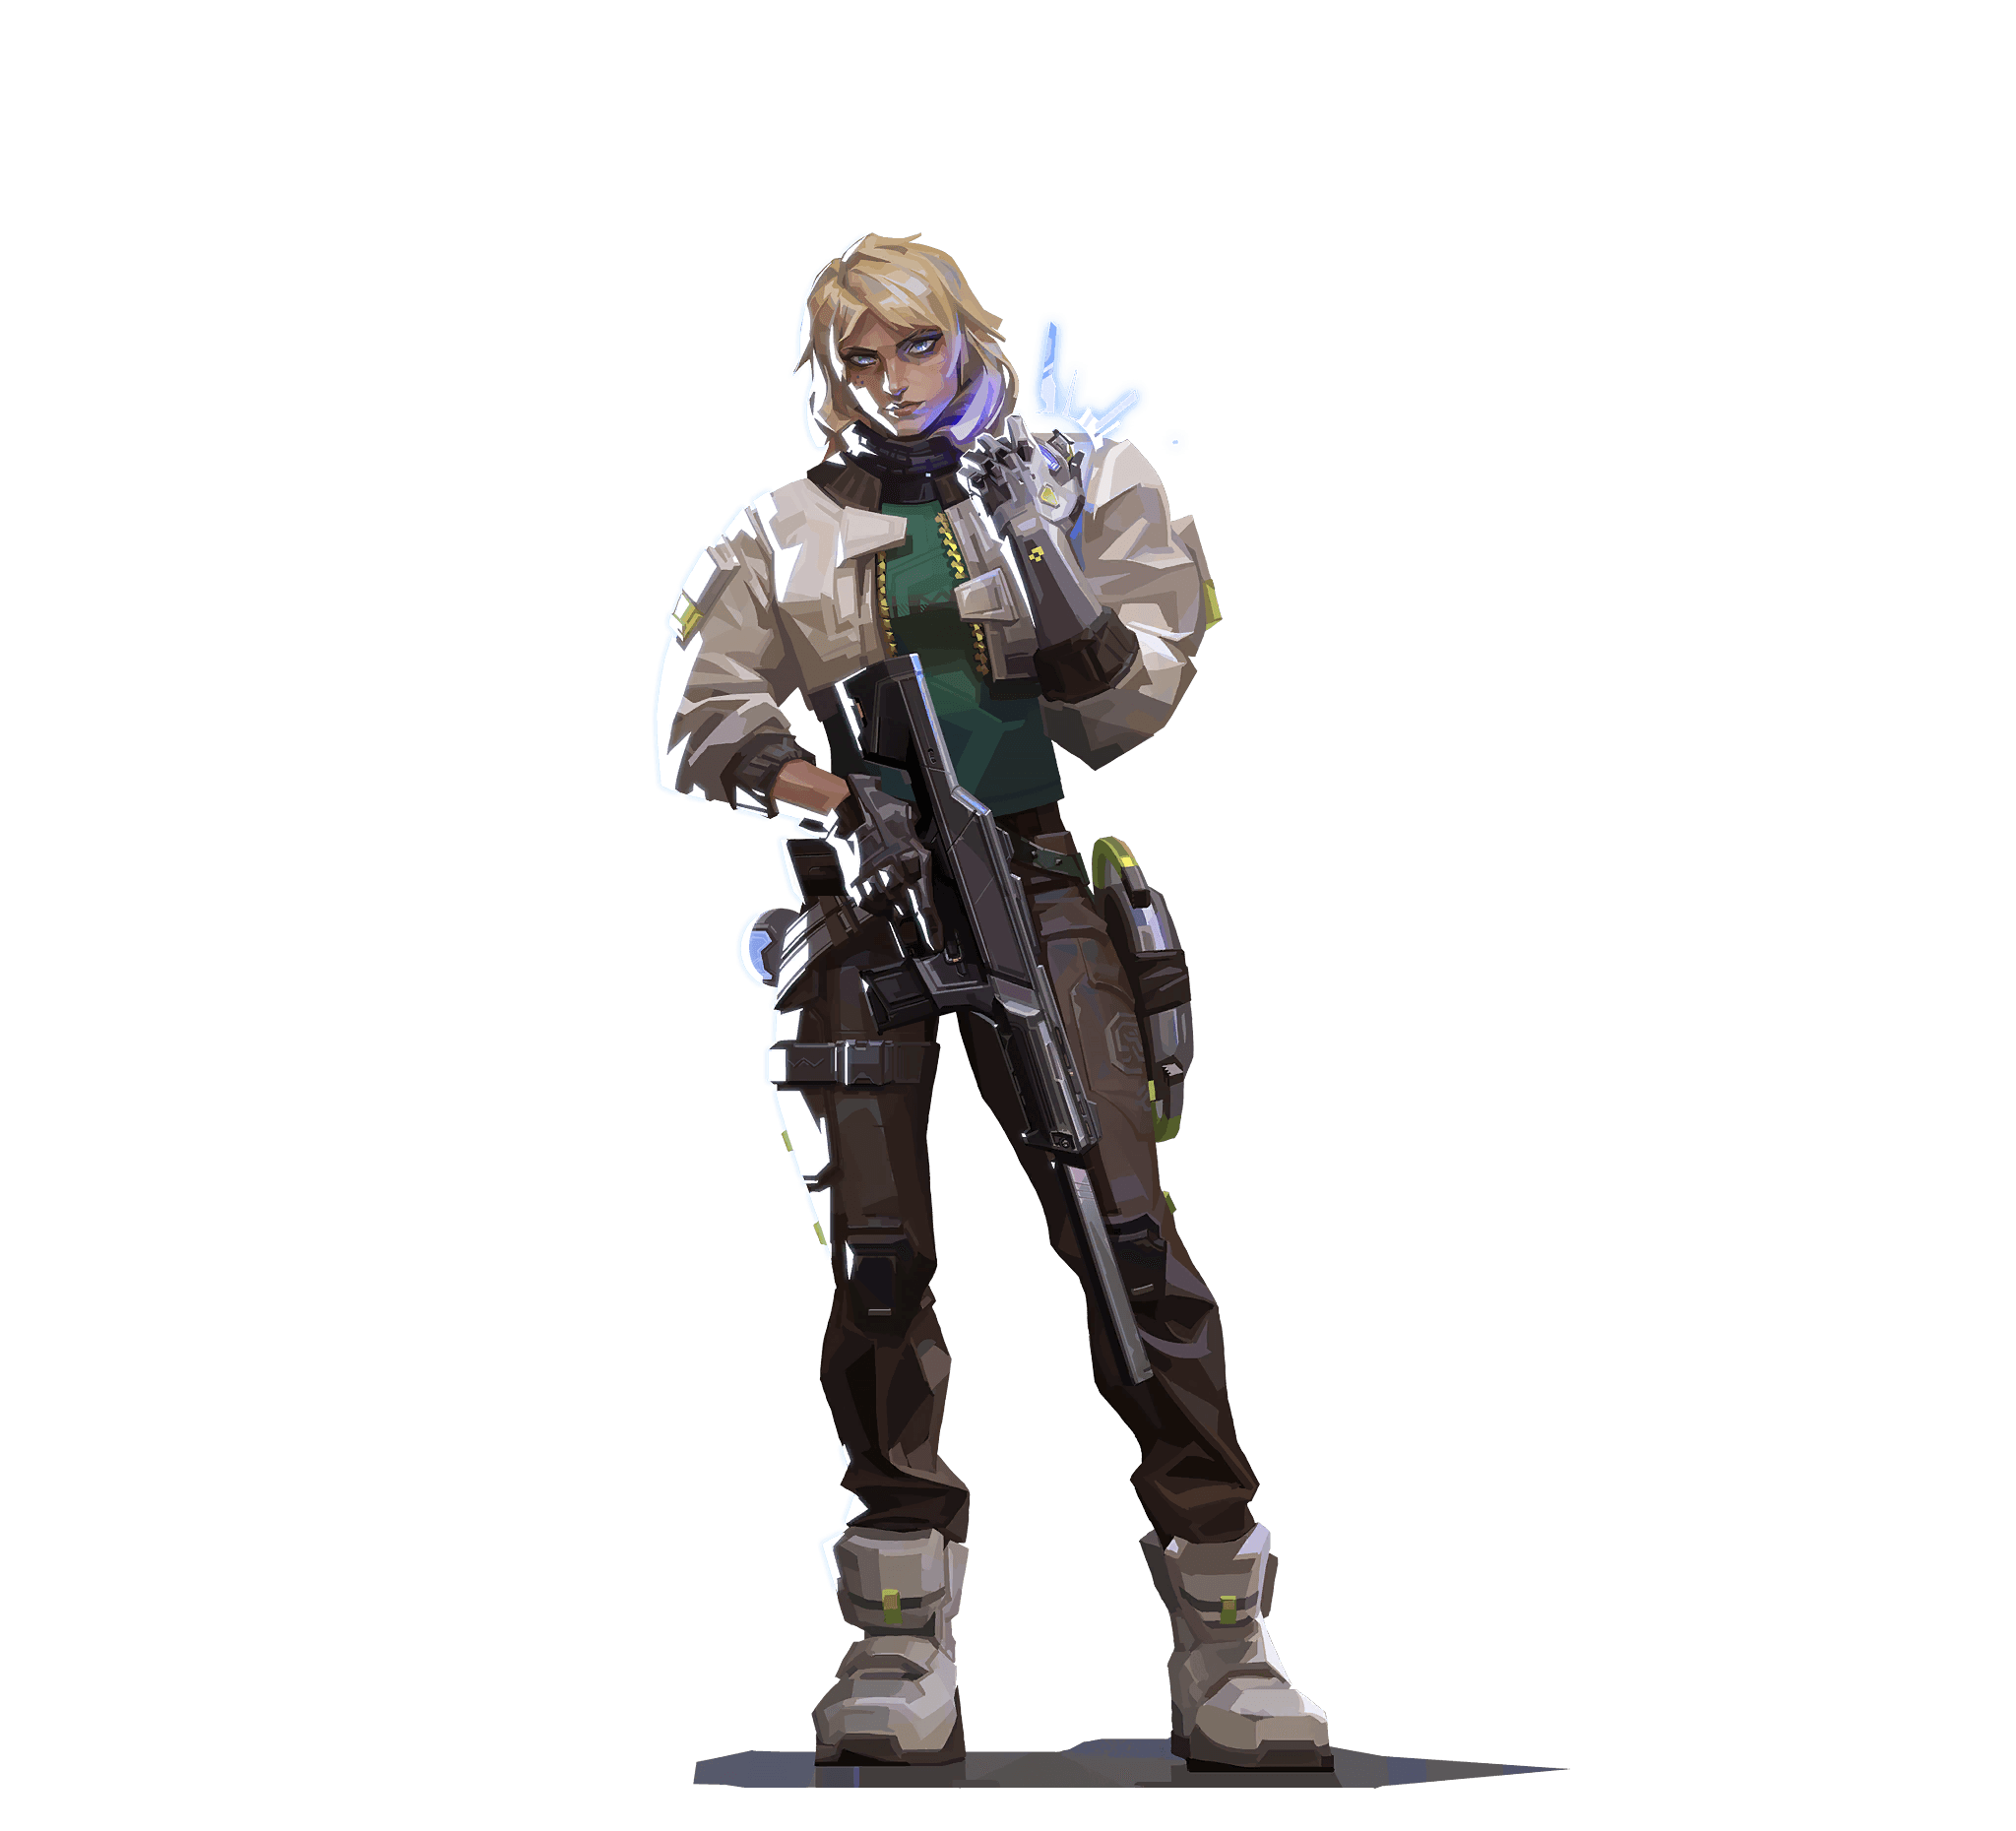
Deadlock is a Norwegian Sentinel who locks down a site with walls, sound sensors and a slowing net. She punishes fast, noisy pushes.

Origin
Norway
Release
June 27, 2023, patch 7.0
Deadlock

Playstyle

Deadlock is played behind her utility, not in front of it. You place a Barrier Mesh on the main path, a Sonic Sensor that listens just behind it, and you keep the GravNet for the first enemy who forces through. On defense, you slow pushes and buy time for your team. On attack, you cover the flanks and protect the Spike after the plant. She shines when the opponent rushes and makes noise, and suffers when they take their time to destroy your setup. Rotate little: leaving your site abandons everything you have placed.

Abilities

Key CBasic

Barrier Mesh

300 credits · 1 charge

You throw a disc that, on landing, raises walls blocking agents' passage from its point of impact. The walls last 30 s and can be destroyed with weapons. Give it 3 s to strengthen and it takes far more damage.

Key numbers

  • Duration: 30 s
  • Strengthening delay: 3 s
  • Maximum length: 10 m
  • Outer orb health: 320 HP (480 HP strengthened)
  • Central orb health: 680 HP (1,200 HP strengthened)
  • Place the disc at the back of a chokepoint to force the enemy to break it under your fire, not in front of an angle they already control.
  • Let the 3 s of strengthening pass before engaging: a strengthened wall delays an execute much longer.
Key QBasic

Sonic Sensor

200 credits · 2 charges

You deploy a sensor that listens for footsteps, gunshots and other notable sounds in an area. As soon as an enemy makes noise, they are concussed. You can pick it up to place it elsewhere during the round.

Key numbers

  • Concuss: 2.5 s (3.5 s before patch 11.08)
  • Sensor health: 20 HP
  • Pickup distance: 27 m
  • Place it behind your wall: the enemy who breaks the disc makes noise and triggers the sensor at the worst moment for them.
  • Pick it up as soon as it is burned and place it on the other site or on the flank, it costs nothing more.
Key ESignature

GravNet

1 free charge per round · 1 charge · Cooldown: 50 s

This grenade explodes on landing and forces agents caught in it to crouch and move slowly. They only free themselves by breaking the net. It comes back on its own after its recharge, at no credit cost.

Key numbers

  • Recharge: 50 s (60 s before patch 13.00)
  • Throw delay: 0.4 s
  • Slow: 70%, forced crouch
  • Radius: 6.5 m (last known setting, patch 10.04)
  • Throw it at the enemy coming out of the wall or at the defuser: crouched and slow, they are easy to hit.
  • Use alternate fire to lob it over an obstacle when the direct angle is blocked.
Key XUltimate

Annihilation

7 ultimate points

You fire a volley of nanowires that captures the first enemy hit. They are wrapped up and pulled along a path, then die on arrival if nobody destroys the cocoon. Their teammates therefore have to free them under your fire.

Key numbers

  • Delay: 1.1 s
  • Cocoon duration: 7 s
  • Cocoon health: 600 HP
  • Fire when the enemy is slowed by your GravNet or in a corridor: the volley travels straight and a moving player dodges it.
  • Watch the cocoon: if it is destroyed, you lose your investment, so punish those who come to free it.

Strengths

  • Barrier Mesh and the sensor's concuss delay a push by several seconds, which gives your teammates time to rotate from the other site.
  • GravNet crouches and slows its target: a defuser or an entrant becomes a nearly fixed target, easy to punish.
  • Sonic Sensor flags enemies making noise without you being on the angle, and it can be picked up to be placed elsewhere.
  • Annihilation eliminates an enemy by itself if the opposing team does not react, and forces them to show themselves to free the cocoon.

Weaknesses

  • Mesh and sensor can be destroyed by weapons: a patient team that cleans up your setup wipes out a large part of your impact.
  • Your value depends on what you placed beforehand: rotating or being flanked leaves the site undefended.
  • An enemy who advances silently by walking does not trigger the sensor, and a badly timed GravNet is wasted for 50 s.
  • The ultimate travels in a straight line, can be dodged, and the cocoon can be freed if the opponent is coordinated.

Tips

  1. On a full buy, take your utility first: without the wall and the sensor, Deadlock loses a large part of her purpose.
  2. Play behind your setup and keep your GravNet for the enemy who breaks the disc, not for an empty angle.
  3. Pick up and move your sensor when it is burned rather than buying another one.
  4. Train counter-strafe shooting: crouched and slow, the enemy caught in the GravNet is hit with one clean tap.
  5. When the site is taken, switch to retake: throw the GravNet on the defuser and place a sensor near the Spike.

The aim to train

The Road2Radiant benchmark subcategories that matter most here.

  • Static

    Clicking on static targets

    You hold angles behind your walls and hit slowed or crouched enemies: the flick on a nearly fixed target wins duels.

    Drills to improve
  • Strafe Click

    Clicking while strafing

    When your wall breaks or the sensor triggers, you have to counter-strafe and fire a precise tap, not run and spray.

    Drills to improve
Measure these skills with the benchmark

Synergies

Other agents in this role

Train the aim Deadlock needs

Sources

Updated on October 13, 2026

Data from patch 13.06. Names, art and weapon stats: Riot Games, via valorant-api.com.